
Hello, creative souls!
Have you ever wanted to make something that’s both beautiful and practical? Well, Potterings has the perfect project for you — a ceramic egg holder! This simple yet charming piece is ideal for showcasing your love of art and breakfast (because who doesn’t want a stylish way to store their eggs?)
In this blog post, I’ll guide you through the process of making a ceramic egg holder from scratch. You’ll learn some fundamental pottery techniques while crafting a one-of-a-kind piece that’s sure to brighten up your kitchen. Plus, we’ll give you all the details about our upcoming class so you can make this project a reality with a group of fellow pottery lovers!

What You’ll Need:
Clay: Use commercial clay, which is durable and great for functional pottery.
Pottery tools: Get the necessary tools like rolling pins, a cutting wire, sponge, rib (or spoon) and modeling sticks to shape and refine your creation.
A rolling pin: To roll out your clay and create the base for your holder.
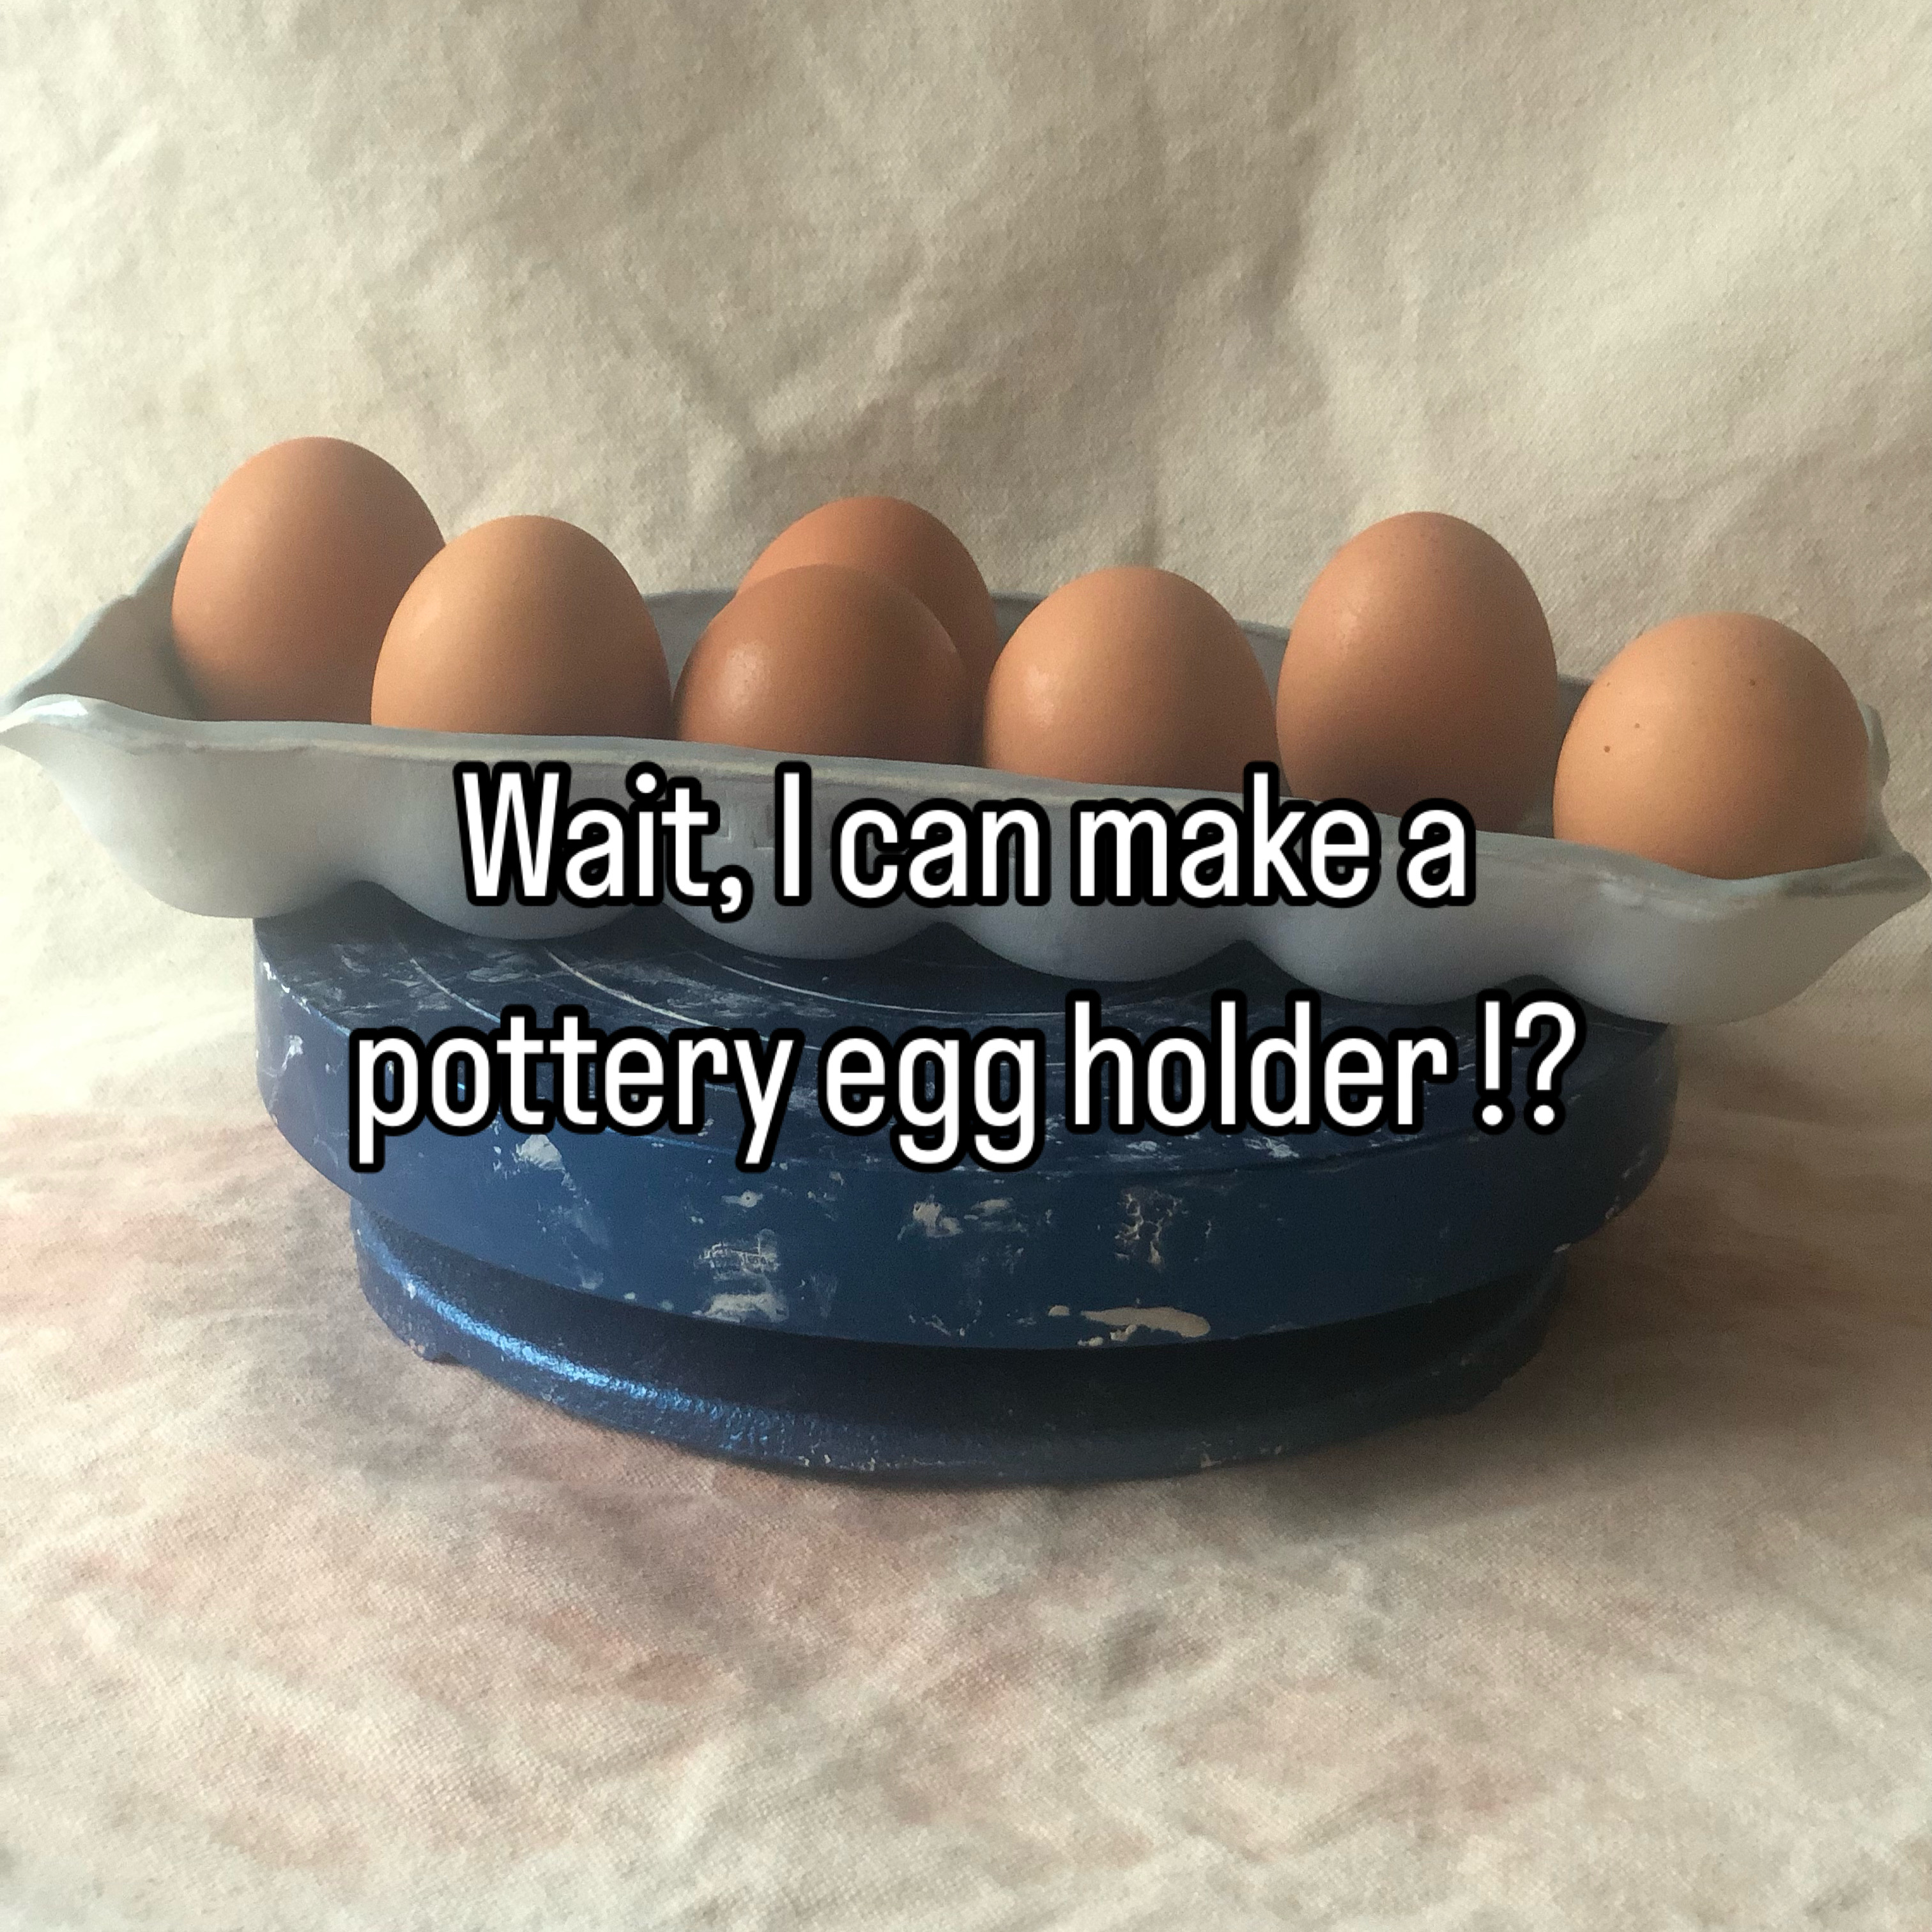
An egg form: For shaping the curves that will cradle your eggs.
Your creativity: Always the most important ingredient!
Steps to Make Your Ceramic Egg Holder:
1. Prep Your Clay. Start by kneading your clay to remove any air bubbles. This is called “wedging.” It’s kind of like kneading dough, but it’s even more satisfying.
2. Roll Out the Clay. Use a rolling pin to roll your clay into an even sheet about 6mm thick. This is the base of your egg holder, so aim for a nice, smooth surface.
3. Layer the clay over the upside down egg form. Smooth and press the clay between the cups. To prevent the clay from sticking use plastic wrap or corn starch.
4. Smooth and Refine. Use a sponge or modeling tool to smooth out the entire surface of your egg holder. Don’t forget to clean up the edges, and if you want to get fancy, you can add a decorative texture to the surface with stamps or tools.
5. Dry and Fire. After shaping your piece, let it dry completely (about 48 hours). Then, fire it in the kiln to bisque. Once the piece it out of the kiln, a clear glaze, then back in the kiln for a final fire. Check your local studios for kiln rental space.
If you don’t want to tackle this by yourself, take a complete workshop from Potterings.

Why You’ll Love This Workshop
Not only is making your own ceramic egg holder a rewarding and relaxing activity, but it’s also a great opportunity to learn the basics of pottery in a supportive, no-pressure environment. Plus, you’ll leave with a handmade piece that’s as functional as it is beautiful. Imagine showing off your egg holder at breakfast or giving it as a thoughtful, one-of-a-kind gift!
Join Us for the Egg-cellent Pottery Class
Ready to make your own ceramic egg holder? Sign up for our workshop! The next session is being held on Monday, January 6th from 6:00 pm to 9:00 pm. In just 3 hours, you’ll learn the techniques, enjoy some laughs, and create something totally unique. All for only $40 — that’s a steal for a fun evening of clay and creativity!
Limited spots available, so be sure to register soon! Workshop is held at The Clay Cauldron in West Seattle.
Pottering classes are great for beginning potters who are looking to try their hand at something new. Don’t miss out on this egg-citing opportunity to dive into the world of pottery.
