
Introduction:
One of the most essential and satisfying aspects of pottery is creating a functional, beautiful mug with a handle that fits just right. Whether you’re a seasoned potter or just starting out, learning how to attach a handle to your pottery mug is a crucial skill. In this step-by-step guide, I’ll walk you through the process of making a sturdy, aesthetically pleasing pottery mug handle.
By following these 10 easy steps, you’ll not only make your mug look professional but also ensure it’s comfortable to hold. Grab your tools and let’s dive into the world of pottery handle making!
1. Prepare Your Clay
Start by preparing your clay for the handle. If you’ve already thrown your mug on the wheel, ensure the body of your mug is leather-hard, which means it’s firm enough to hold its shape but soft enough to be worked on. If you’re handbuilding a mug, start by rolling out a slab of clay to form the basic shape.
2. Roll the Clay for the Handle
To form the handle, take a small ball of clay (roughly 1 to 2 ounces, depending on the size of your mug) and roll it out into a coil. You want your coil to be about the thickness of your finger, but this can vary depending on your preference for a thicker or thinner handle.
3. Shape the Handle
Once your coil is rolled out, shape it into a “C” or “D” shape. A “C” shape is a classic mug handle, while a “D” shape provides a more ergonomic grip. You can form the handle with your hands, or use a tool like a rubber rib to smooth out the edges for a polished finish.
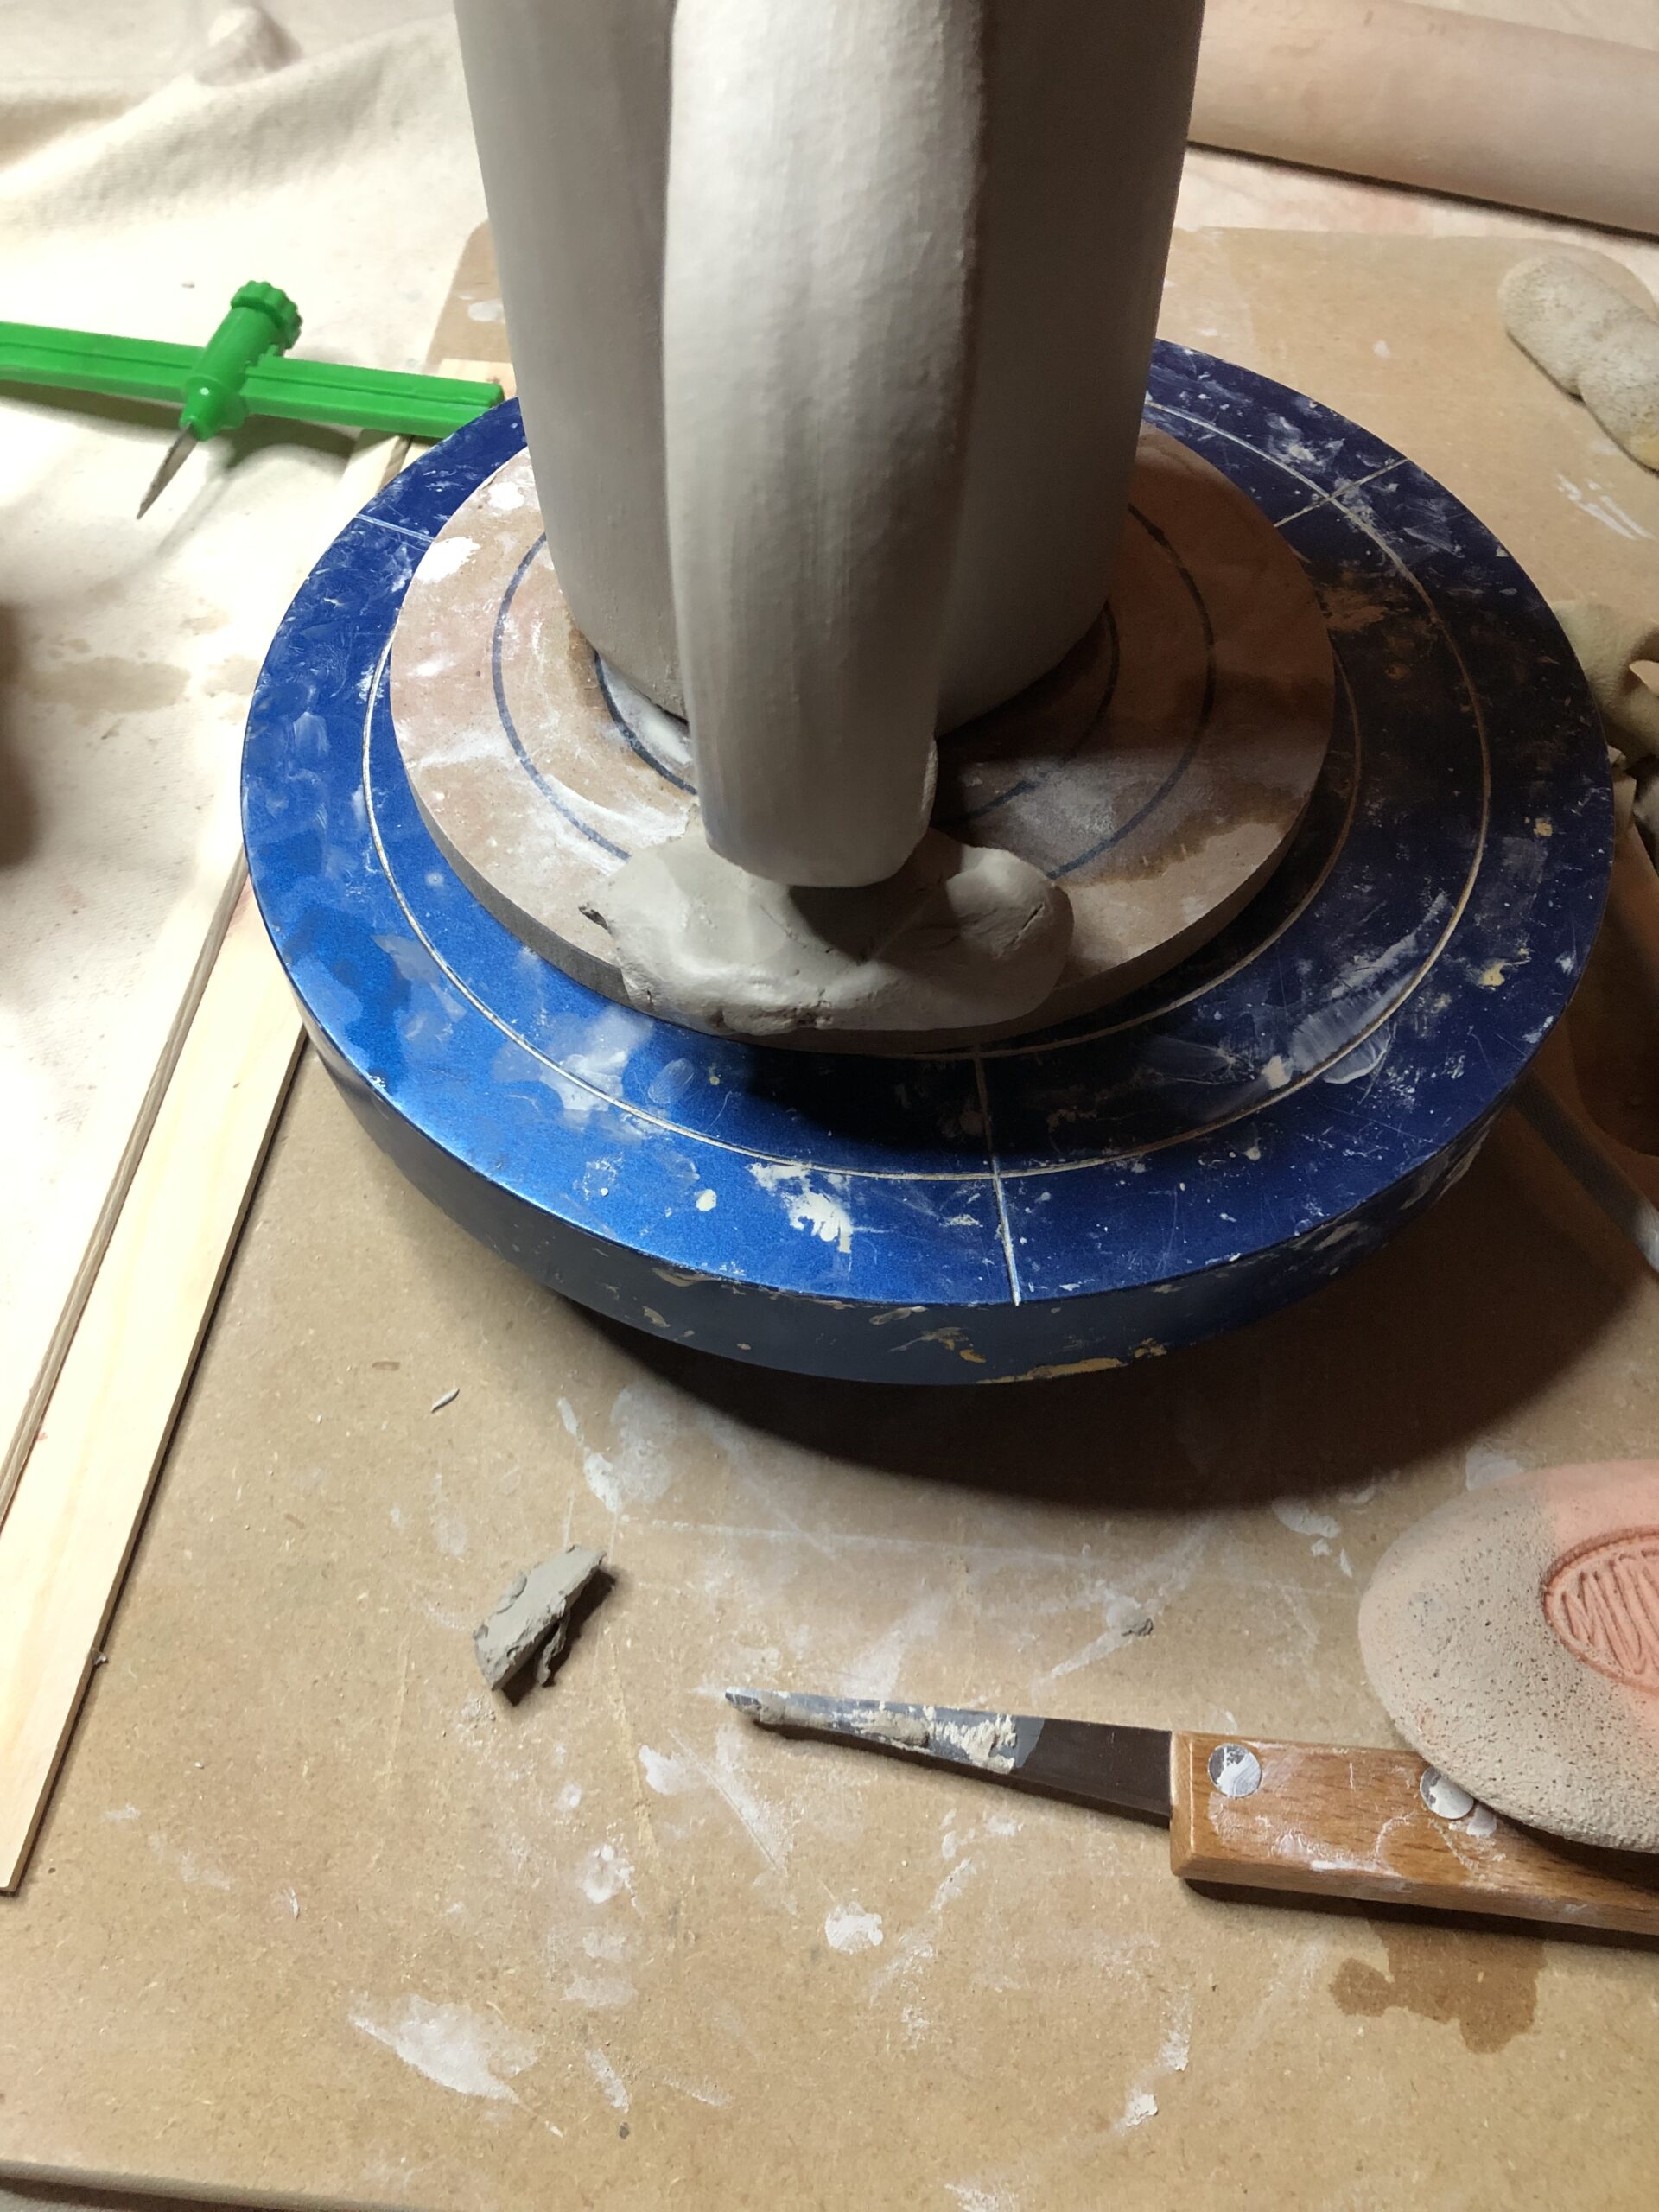
4. Score the Clay
Before attaching your handle to the mug, you’ll need to score both the area where the handle will go and the handle itself. Scoring means making small cross-hatch marks on the surface with a fork, needle tool, or serrated rib. This helps create a texture that will ensure the clay sticks together once it’s attached.
5. Apply Slip to Both Surfaces
Once you’ve scored both the mug and the handle, it’s time to apply slip, a mixture of water and clay, to both surfaces. The slip acts as a bonding agent that will make the connection between the handle and the mug much stronger.
6. Attach the Handle
Carefully press one side of the handle to the mug, aligning it in the position you want. Gently press the handle into place and ensure it’s secure. You can adjust the angle at which the handle attaches to your mug to make sure it feels comfortable when held.
7. Blend the Seam
To make the attachment look seamless, use your fingers or a tool like a wooden modeling tool to blend the clay where the handle meets the mug. Smooth out the edges and ensure there are no cracks or visible seams.
8. Refine the Handle Shape
Once the handle is attached, go back and refine its shape if needed. Make sure it’s evenly shaped and that the thickness feels comfortable for the user. You can smooth any rough areas using a damp sponge, or you can even add decorative textures if desired.
9. Let the Handle Dry
Allow your pottery mug with the attached handle to dry to a leather-hard state. This allows the clay to stiffen enough so that the handle stays in place while you continue working on your piece. If your handle feels too soft, it may become misshapen during the drying process.
10. Bisque Fire and Glaze
Once your mug is fully dry, it’s time for the bisque firing. After it’s fired, you can glaze your mug and handle, adding your favorite colors and designs. If you’re unsure of how to glaze, you can try dipping, brushing, or spraying your glaze. Once glazed, fire your piece again in the kiln.
Conclusion:
And there you have it! With just 10 easy steps, you’ve successfully made a pottery mug handle that’s both functional and beautiful. Whether you’re a beginner potter or looking to refine your skills, attaching a handle is an essential step in creating a professional-looking mug. Remember to practice and experiment with different handle shapes to find the one that feels best in your hand.
Happy pottery making!
Check out Potterings classes for local hand building classes and the Potterings blog more tips on creating unique ceramic pieces!