
Glazing is where your pottery transforms—adding color, depth, and personality. But for beginners, glazing can feel overwhelming. At Potterings, we help new handbuilders find their confidence, especially when it comes to mid-fire cone 5/6 glazes. We use several glazes from Mayco, Amaco, Seattle Pottery Supply, and Tacoma Clay Art Center. In this post, we’re focusing on using Mayco and Amaco glazes. These 10 tips will guide you to successful glaze results—beautiful pieces, fewer surprises, and a lot more fun!
1. Know Your Glaze Behavior
Not all glazes behave the same.
- Mayco Stoneware glazes often flow or break over texture—great for surface detail.
- Amaco Potter’s Choice glazes are formulated for layering and dramatic effects.
Read the label or look up the manufacturer’s firing chart to learn if your glaze is stable, runny, glossy, or matte.
2. Start With Clean Bisque
Wipe your bisque-fired pieces with a damp sponge to remove dust.
Glazes like Amaco Celadon are transparent, meaning specks of dust will show after firing. Clean bisque = clean results.
3. Mix Your Glaze Really Well
Sediment can sink to the bottom—especially with Mayco glazes, which are often thicker in the jar. Stir until fully blended before every use, especially if you see streaks or separation.
4. Apply the Right Number of Coats
Most commercial brushing glazes (like Mayco and Amaco) recommend 2–3 even coats.
- For Mayco: Apply coats in opposite directions (horizontal, then vertical) for even coverage.
- For Amaco Celadons: One coat gives a light tint; three gives a deep color.
Let each layer dry until it’s no longer tacky before adding the next.
5. Mind the Glaze Thickness
If you’re dipping or pouring, the glaze should be the right consistency, typically with a specific gravity of around 1.45–1.5.
Too thick and Potter’s Choice glazes can run. Too thin and you’ll lose depth and color.
6. Avoid Glazing the Bottom
Both Amaco and Mayco glazes will melt and fuse your pot to the kiln shelf if they’re on the base.
Use wax resist or wipe the bottom with a sponge if you get any glaze on it.
7. Be Careful with Layering
Layering can lead to stunning effects—if done mindfully.
- Amaco’s PC-17 Honey Flux layered over other glazes creates beautiful movement.
- Mayco’s SW-172 Macadamia breaks over texture and looks great under a glossy glaze.
Always test combinations first—two stable glazes can still run together.
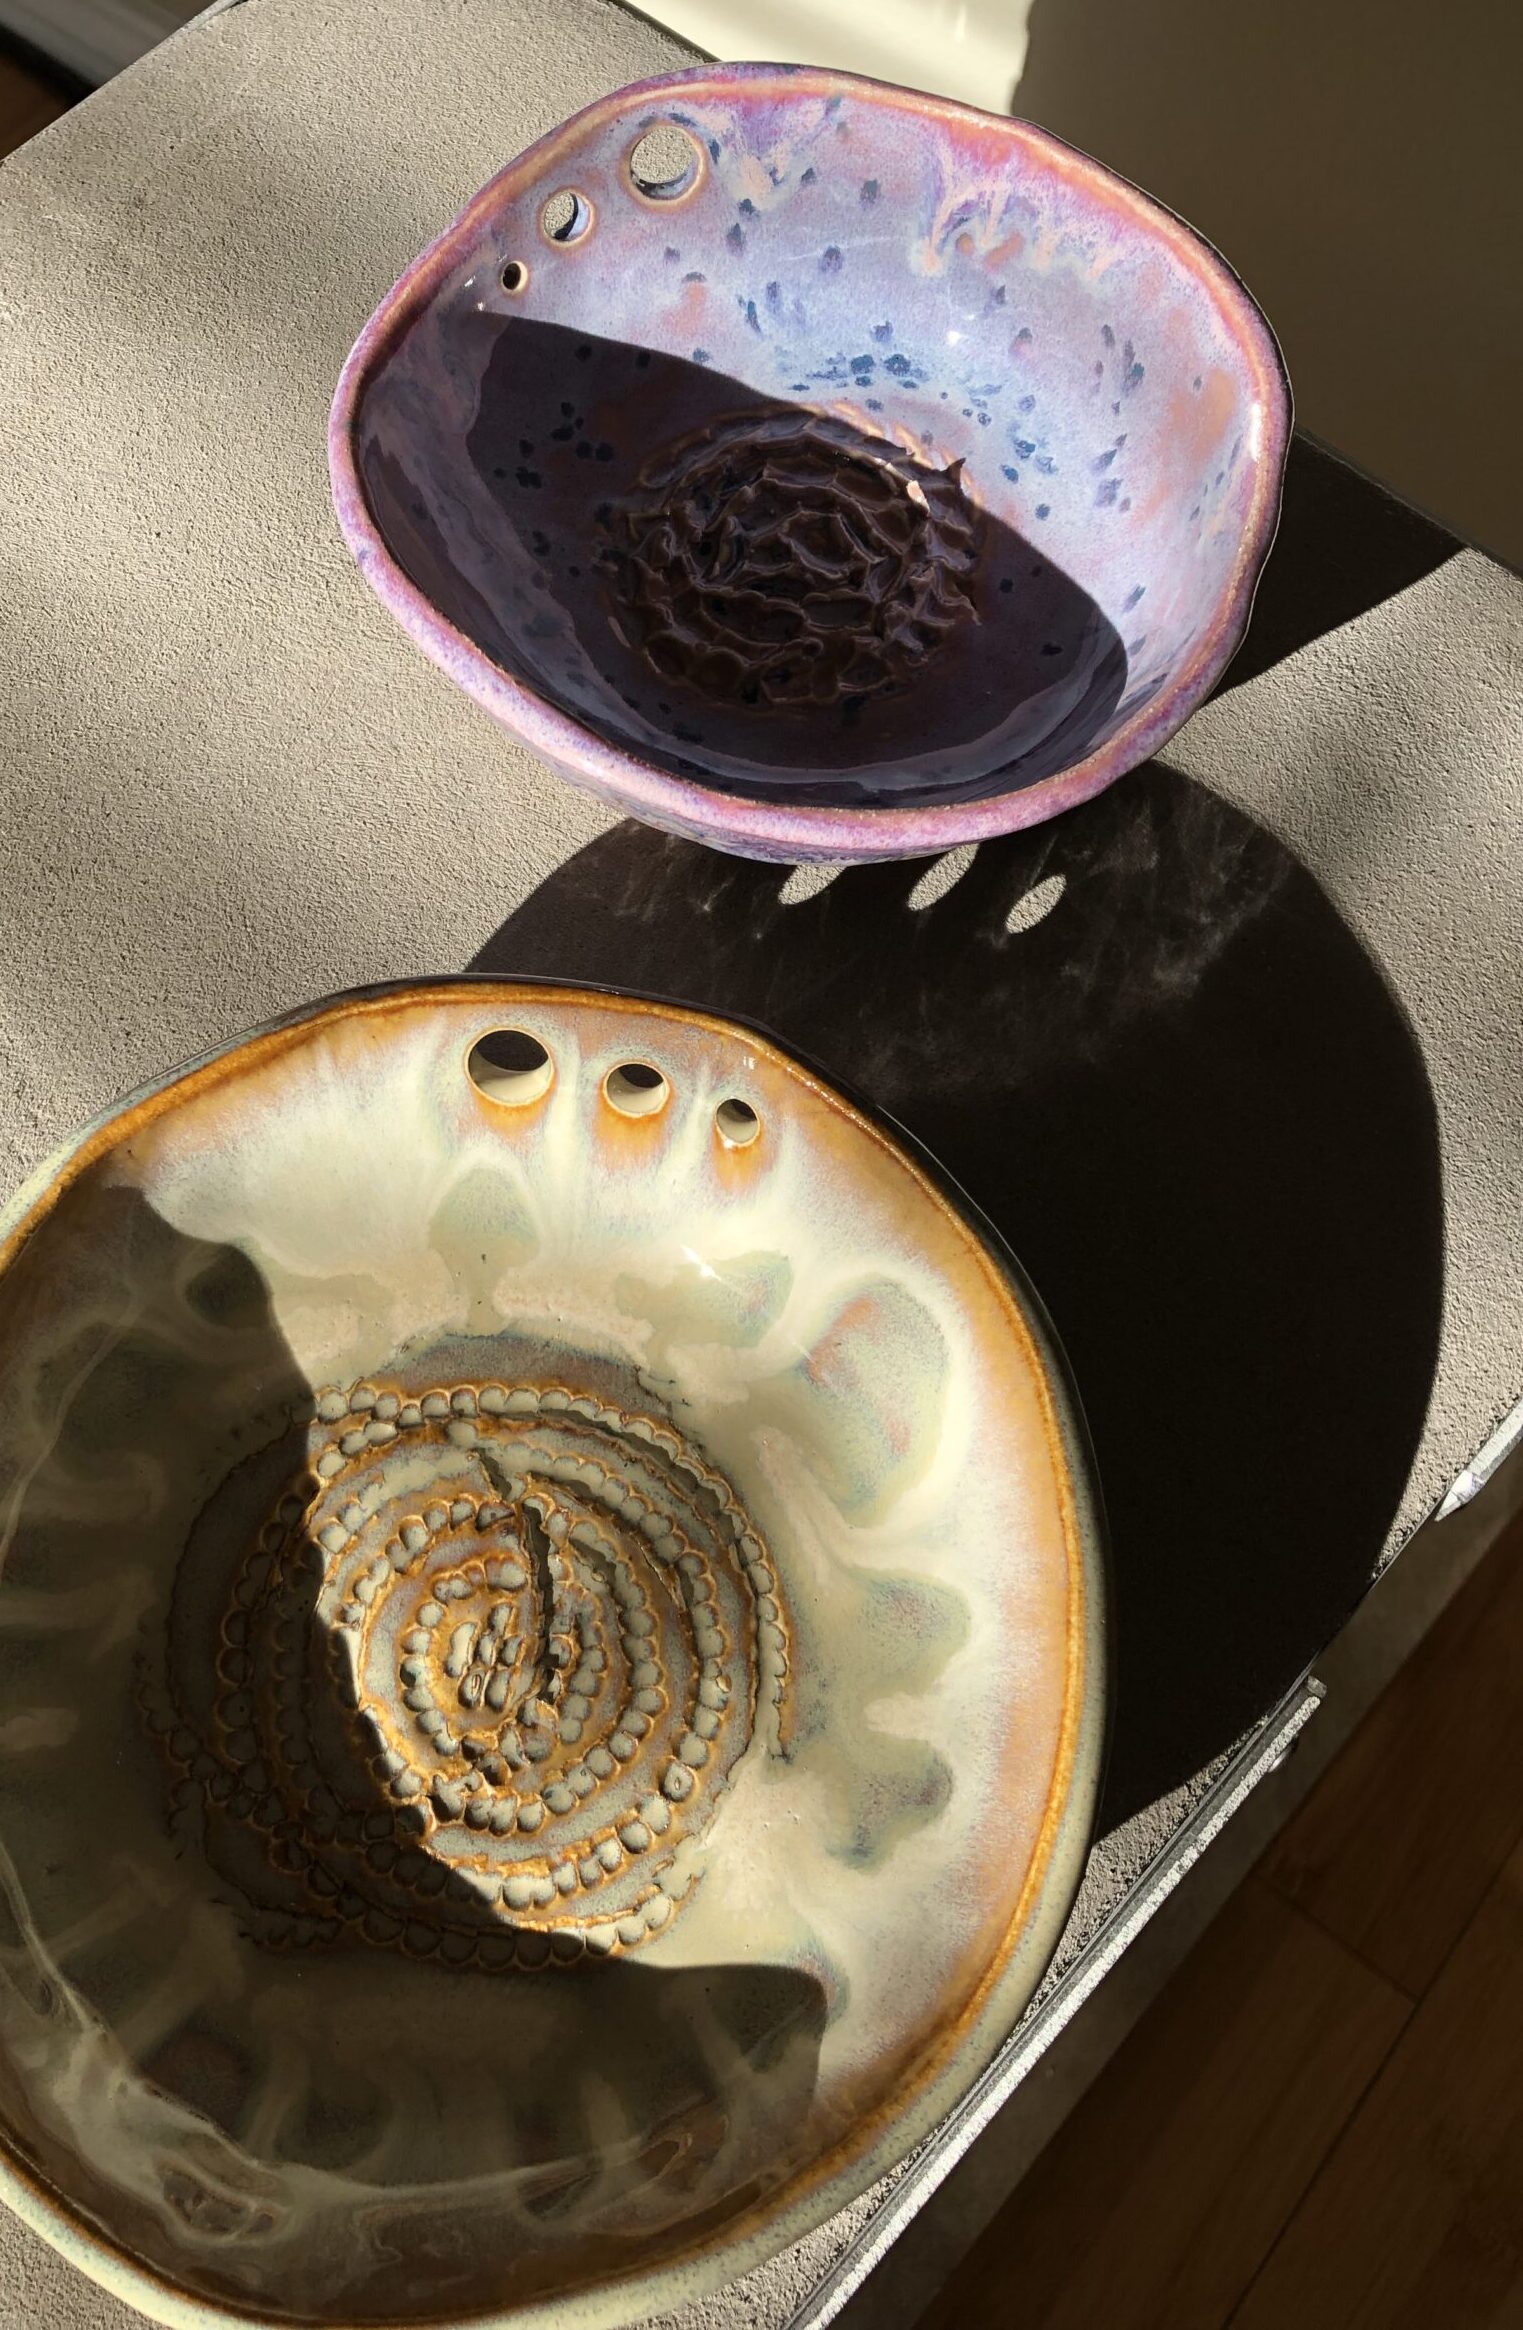
8. Use Texture to Your Advantage
Mayco glazes like SW-134 Mirror Blue break dramatically over texture, revealing lighter edges and darker pools.
Try using stamps, carving, or slip trailing to enhance your surface before glazing.
9. Fire to the Recommended Temperature
Most Amaco and Mayco mid-fire glazes are designed for cone 5 or 6.
Going too hot can cause excess melting and running; too cool may lead to underfired, chalky finishes. Use witness cones if you’re unsure about your kiln’s true temperature.
10. Document Your Results
Glazing is part experiment, part artistry. Keep notes of:
- What glaze you used
- Number of coats
- Application method
- Kiln placement
- Final results
You’ll quickly build a personal glaze library. Tip: Glaze test tiles with stamps or textures to preview effects from glazes like Amaco Ancient Copper or Mayco Raspberry Mist.
With the right tools, techniques, and a little curiosity, you’ll gain confidence in glazing and start seeing the results you’ve imagined. Whether you love Mayco’s vibrant effects or Amaco’s rich, layered finishes, you’re on your way to glaze success. All of Potterings workshops, classes, and open studios include glazing. We either glaze the piece for you, or (and this is unique to Potterings), you can book a separate session to glaze your piece (included in the cost). It’s another way we give you the confidence to make a functional piece of pottery. At Potterings, we’re here to guide you every step of the way. Glaze on!