
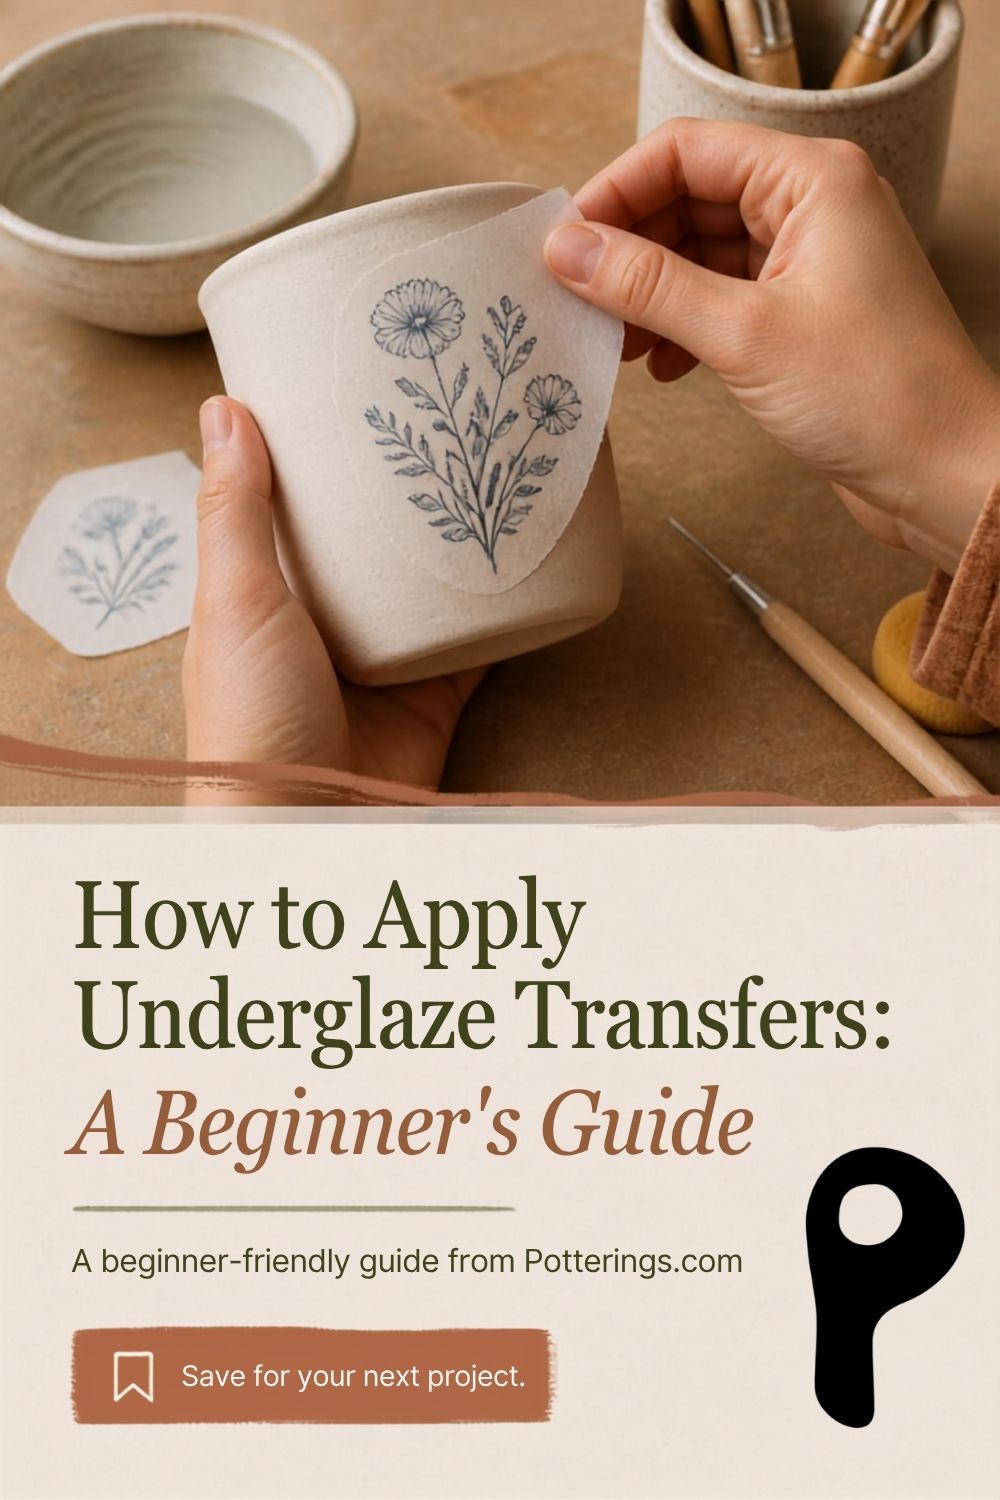
You’ve made your piece, smoothed the edges and decided it’s ready for a little personality. Maybe you want a botanical pattern on your mug, a border around a bowl or a bit of decoration that looks far more complicated than anything you feel ready to draw yourself.
That’s where underglaze transfers come in.
Underglaze transfers are a wonderful way to add detailed patterns and images to your pottery without having to paint them freehand. The design is printed onto a special transfer paper using ceramic underglaze, and you transfer that design onto your clay.
It sounds a little magical the first time you try it. Once you know the basic process, it’s actually quite approachable.
Start with a piece you’re happy with
Before you reach for the transfer, take a good look at your pottery. This is the time to make sure the surface is smooth, clean and ready for decoration.
Underglaze transfers can be applied to clay at different stages depending on the product you’re using, so always check the manufacturer’s instructions first. Many transfers are designed for leather-hard or bone-dry clay, while some can be applied to bisque-fired pottery.
At Potterings, we’ll help you figure out which stage is right for the transfer you’re using and how it will work with your piece.
The most important thing is to have your design planned before you start. Once the transfer is on the clay, moving it isn’t really an option.
Cut out your design
Start by cutting around the part of the transfer you want to use. You don’t necessarily have to cut every little detail, but removing the excess paper makes it much easier to position your design exactly where you want it.
This is also your chance to think about how the pattern will wrap around your piece.
If you’re decorating a mug, for example, lay the transfer against the curve before applying it so you can see where the design will begin and end. A little planning here can save you from discovering halfway through that your favorite part of the pattern is heading straight toward the handle.
Get the transfer ready
Place the transfer with the underglaze design against the clay, following the manufacturer’s directions for your particular product.
You’ll usually use a little water to dampen the paper. The goal is to get the paper moist enough for the design to release without turning the whole thing into a soggy mess.
This is one of those pottery moments where less is usually more. Too much water can make the transfer difficult to handle, while too little may keep the design from releasing properly.
Take your time.
Burnish, peel and reveal
Once the transfer is positioned and dampened, gently burnish the back of the paper with a rib, soft tool or whatever your transfer manufacturer recommends. You want to make good contact between the design and the clay without pressing so hard that you damage your surface.
Then comes the satisfying part.
Carefully peel the paper away.
If the transfer has released properly, you’ll see the design sitting on your clay.
Go slowly, especially around corners and curves. If a section hasn’t transferred, don’t keep pulling the paper away and hope for the best. Lay it back down and give that area a little more attention.
And if your first transfer isn’t absolutely perfect? Welcome to pottery.
A little variation is part of what makes handmade pieces interesting.
Let it dry before glazing
Once your transfer is on the piece, let it dry according to the manufacturer’s instructions before moving on to glazing.
The transfer is made with underglaze, so it becomes part of the ceramic surface during firing. Depending on the product and the look you’re after, you may apply a clear glaze over the design or leave the transferred area unglazed.
Again, this is where the manufacturer’s firing and glazing recommendations matter. Different transfers are formulated differently, and you want to make sure your glaze and firing temperature are compatible with the transfer.
At Potterings, we fire our work according to the clay and glaze combinations we’re using in the studio, so we’ll help you make choices that will give your design the best chance of looking the way you imagined.
A few things beginners learn quickly
Don’t rush the positioning. Once the transfer touches the clay, getting it back off cleanly can be difficult.
Smooth surfaces make life easier. A heavily textured surface can make it harder for the design to transfer completely.
Curves take a little practice. Transfers can wrinkle or distort when you’re working around a rounded form, so start with smaller designs if you’re new to the process.
Handle the transfer gently. Before it’s applied, the printed design can be surprisingly delicate.
Test when you can. If you’re trying a new transfer, glaze or clay combination, a test tile can save a lot of disappointment.
And then you get to see what happens
There’s something especially fun about opening the kiln after decorating pottery with transfers. Before firing, you’re looking at a design sitting on the surface of your clay. After firing, the underglaze has become part of the finished ceramic piece.
A simple mug can suddenly have a whole personality. A bowl can look like you spent hours painting it. A little botanical design can turn an otherwise quiet piece into something you’ll want to use every day.
And that’s really what we love about underglaze transfers. They give beginning potters another way to make their work personal without requiring them to become expert ceramic artists first.
You can start with a pattern you love, learn the process and see where it takes you.
Curious about trying pottery or adding a little more personality to your next piece? Come join us at Potterings in West Seattle. We offer workshops, Try It Nights, and for individual lessons (like this underglazing) we teach 1:1 in our private studio setting. We’ll save you a seat at the table.