
Today, I want to shine a spotlight on one of the most unassuming yet incredibly powerful tools in your kit: the pottery rib.
For many beginning potters, the rib might seem like just a flat piece of wood or rubber. But trust me, once you understand its potential, it will become an indispensable companion in your beginning handbuilding classes and your future adventures in the pottery studio.
So, let’s dive into the many ways this simple tool can elevate your handbuilding creations!
What is a Pottery Rib?
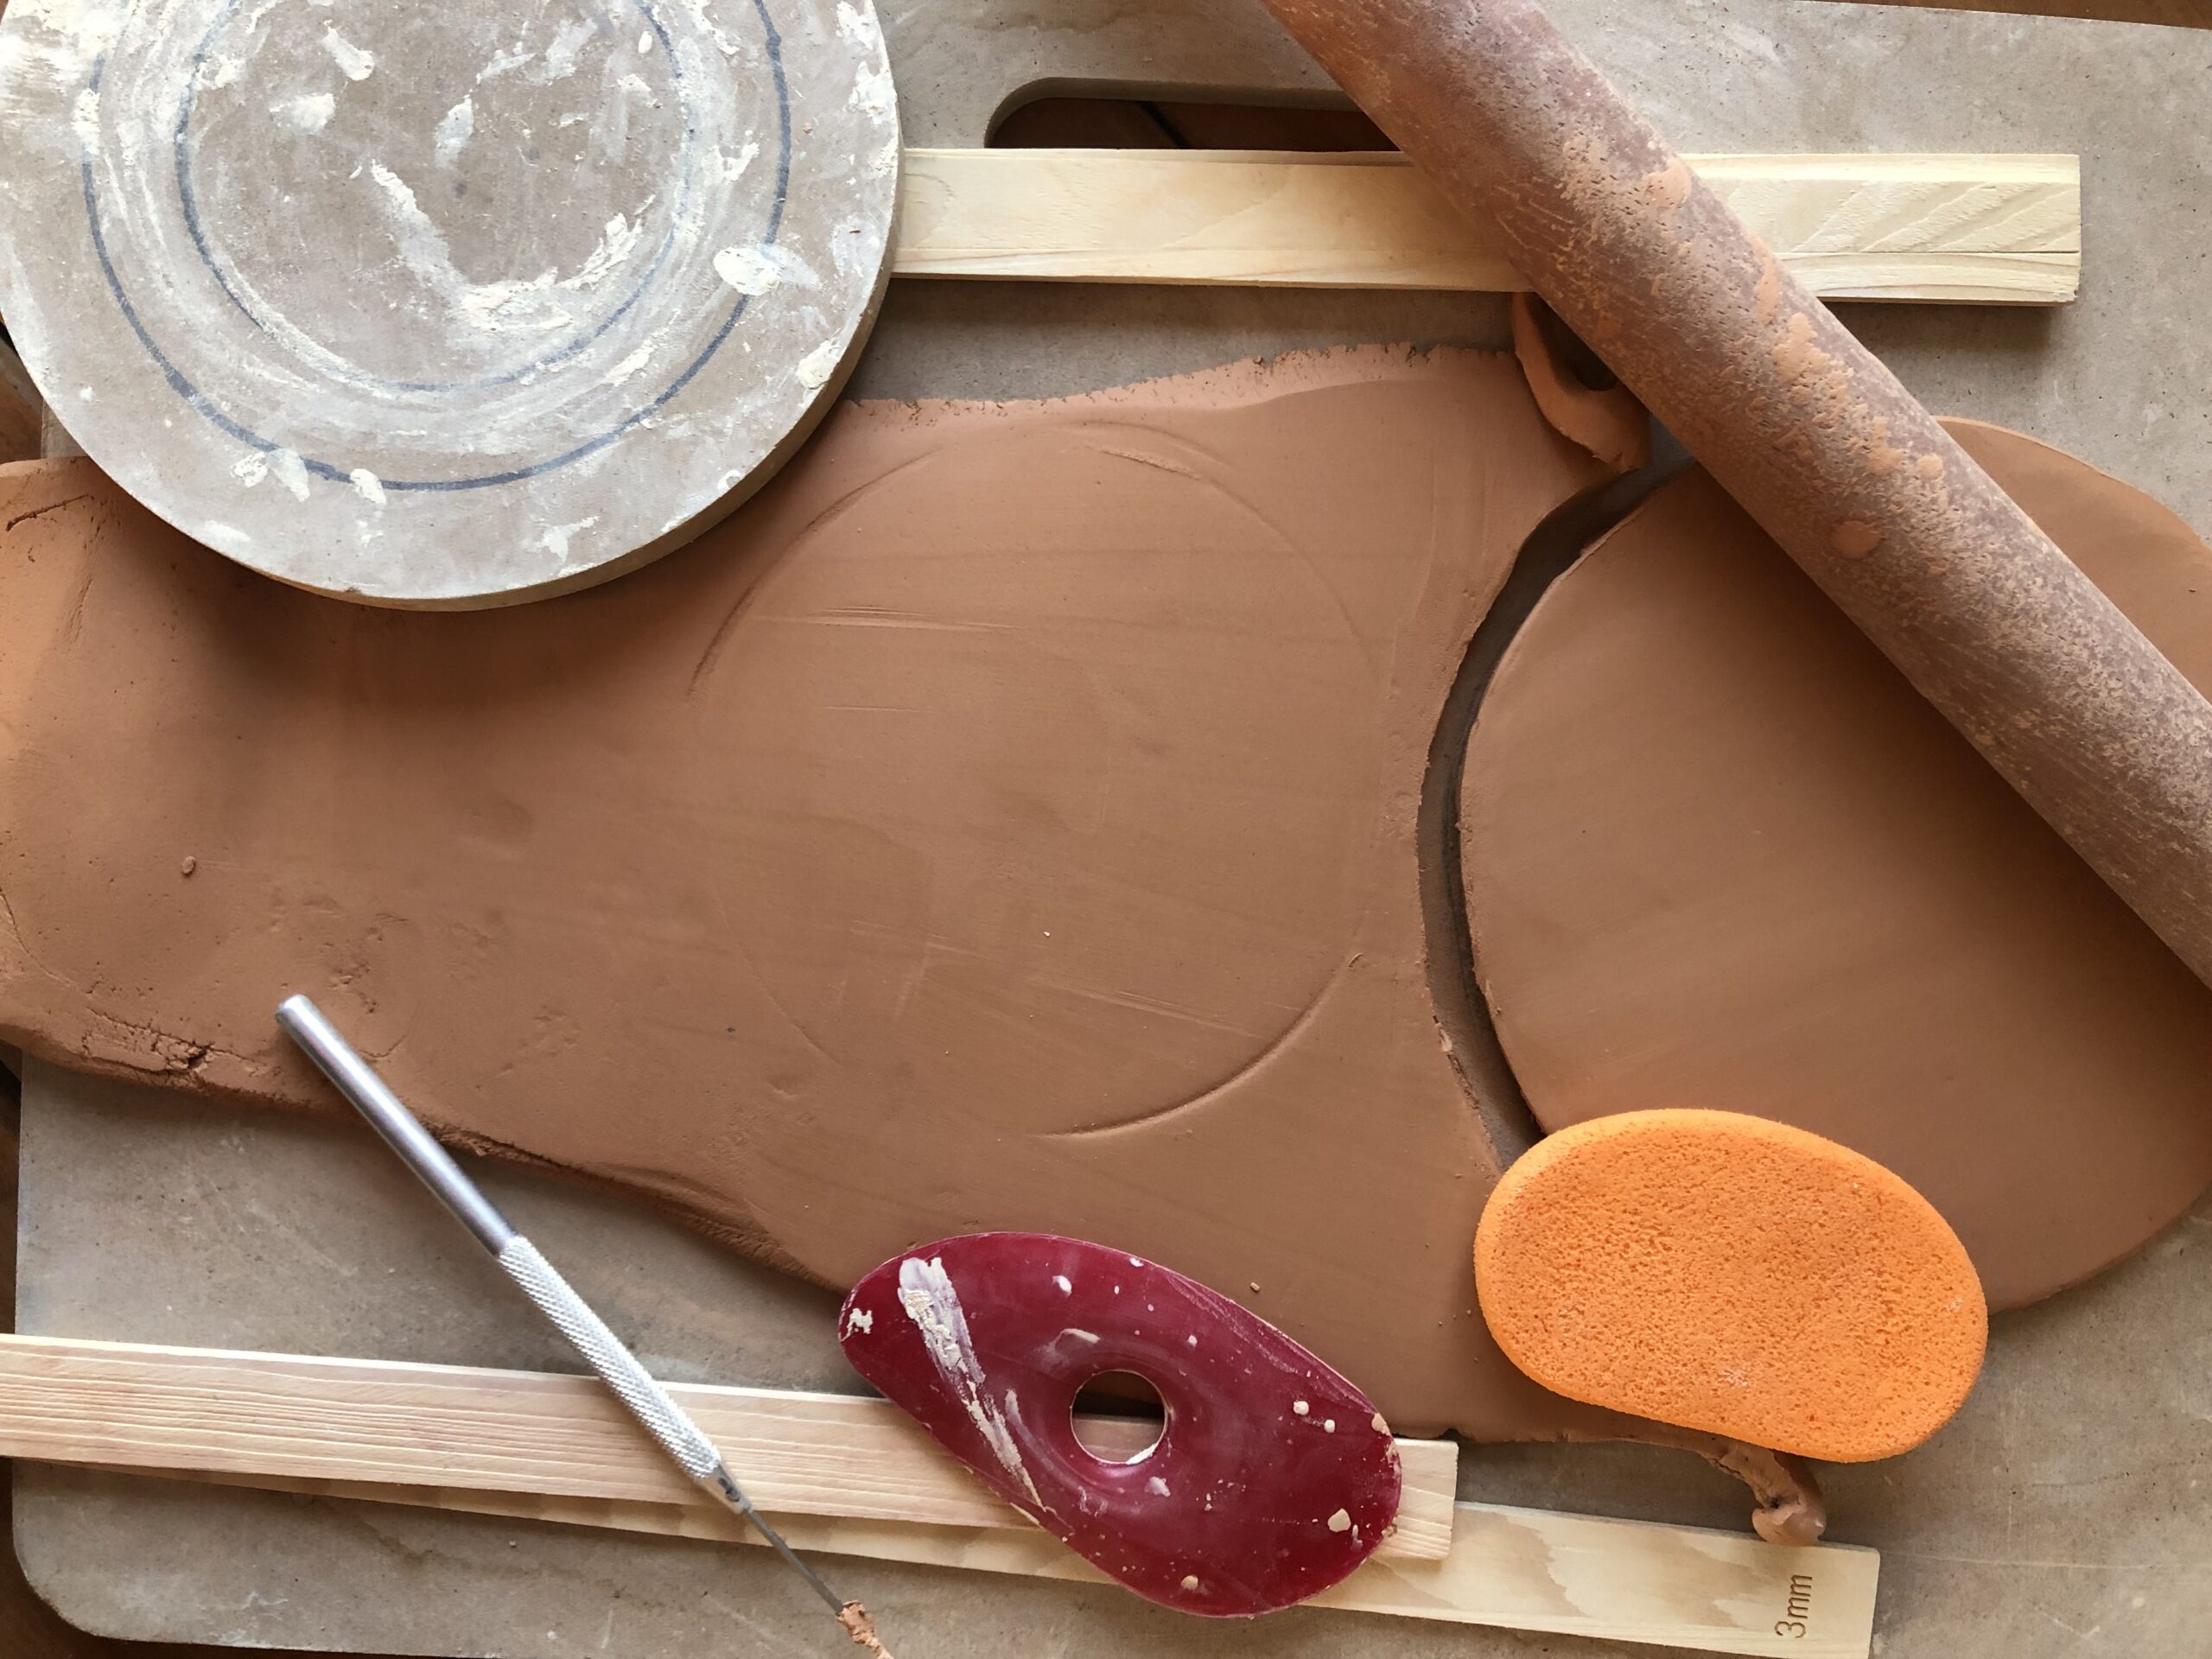
A pottery rib is essentially a shaping and smoothing tool. They come in various shapes and materials – wood, metal, rubber, and even silicone. You’ll find them with curved edges, straight edges, and sometimes even specialized profiles. Each variation offers unique benefits, but for beginning potters, a good all-around rib (often a kidney shape or a simple straight edge) is incredibly versatile.
Ways to Use Your Pottery Rib in Handbuilding:
- Compressing Clay for Strength: This is arguably one of the most important uses of a rib, especially for beginning handbuilding students. When you’re building with coils or slabs, the clay molecules can be a bit haphazard. Using a rib to firmly press and compress the surface of your clay aligns these particles, making your piece significantly stronger and less prone to cracking during drying and firing. Think of it like packing snow – the more you compress it, the harder it becomes.
- Smoothing and Refining Surfaces: Tired of seeing all those finger marks? The rib is your best friend for achieving a smooth, professional finish. Whether you’re working on the outside of a pinched pot, blending coils, or refining a slab, gently (or firmly, depending on the desired effect) scraping and smoothing with a rib will create a uniform and aesthetically pleasing surface. This is particularly useful for achieving a clean look.
- Shaping and Defining Forms: Want a perfectly straight wall? Or a beautifully consistent curve? The rigid edge of a rib allows you to push, pull, and define the contours of your pot with precision that’s difficult to achieve with just your hands. Use the straight edge for flat surfaces and the curved edge for creating elegant bowls or rounded forms.
- Removing Excess Clay: Sometimes, as you’re building, you might have a bit of excess clay that needs to be removed. A rib can be used as a scraper to carefully shave away unwanted material, helping you refine the thickness and weight of your piece.
- Creating Texture (Yes, Really!): While primarily a smoothing tool, a rib can also be used to create subtle textures. A wooden rib might leave a beautiful grain pattern, or you can drag the edge lightly to create parallel lines. Don’t be afraid to experiment.
- Finishing the Rim: A crisp, even rim can truly elevate a hand-built piece. Use the flat edge of your rib to gently tap and level the rim of your pot, ensuring it’s perfectly even and strong.
Pro-Tips for Beginning Potters:
- Keep it Damp: A slightly damp rib will glide more smoothly over the clay.
- Work in Stages: Don’t try to get a perfect finish in one go. Work in stages, allowing your clay to firm up a bit between passes for better results.
- Experiment with Pressure: The amount of pressure you apply with the rib will significantly impact the outcome. Practice to find what works best for different tasks.
- Clean Your Rib: Clay can build up on your rib. Keep a sponge handy to wipe it clean for optimal performance.
Learning to effectively use a pottery rib is a game-changer for beginning handbuilding students. It’s a simple tool that unlocks a world of precision and refinement in your work. So, next time you’re in a handbuilding class here in West Seattle, grab your rib and start exploring its amazing potential.
Happy building, everyone!