
By Potterings
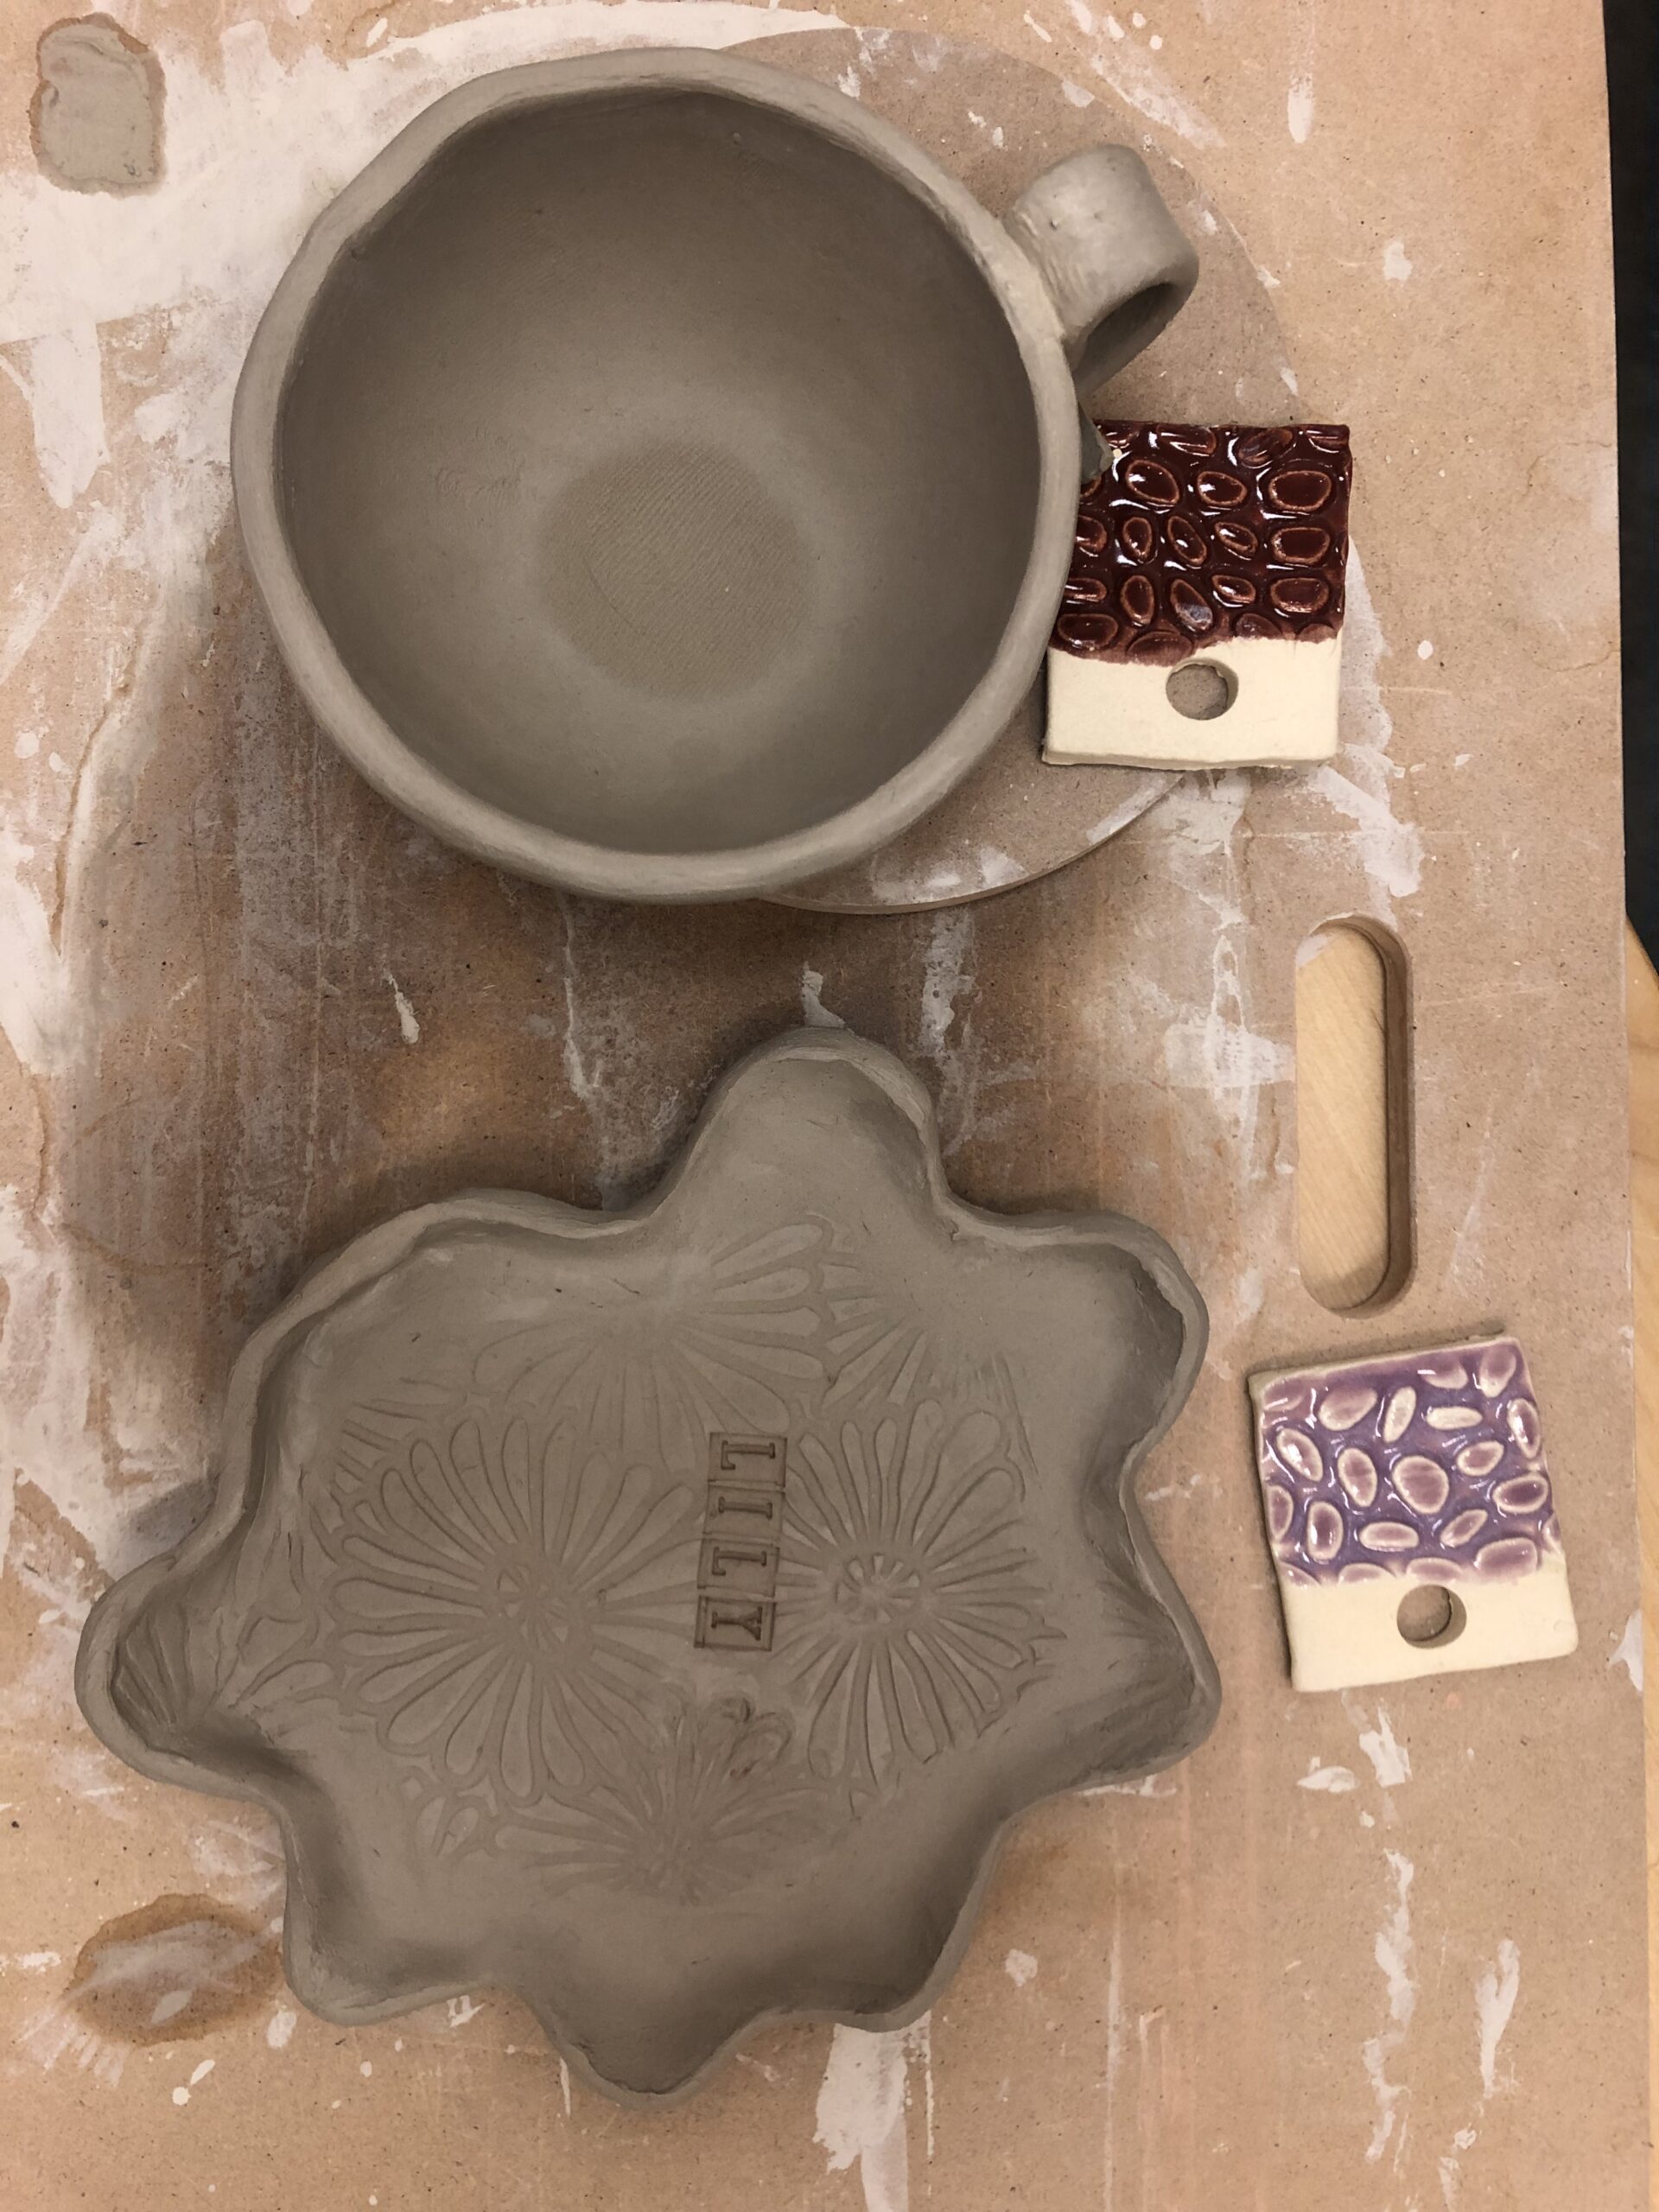
One of the biggest surprises for new potters is how much can happen to a piece after it’s made. You can carefully handbuild something you love, only to come back a few days later and find a crack, a warp, or a break. The good news is that most drying issues are avoidable once you understand what’s going on and learn how to slow things down.
At Potterings, we focus on small-scale, thoughtful making, so let’s walk through the drying process step by step with tips especially helpful for handbuilders.
Why Drying Matters
Clay shrinks as it dries. The tricky part is that not all areas dry at the same rate. When one part shrinks faster than another, stress builds up in the piece. That stress is what leads to cracking, splitting at seams, and warping.
Drying is not just about waiting. It is an active and important part of the process.
The Stages of Drying
Knowing these stages helps you understand when it’s okay to work on your piece and when it’s better to leave it alone.
Wet or Plastic Stage
This is when the clay is freshly made and very flexible.
- Best for shaping, joining, and altering
- Very fragile and easy to distort
Once your form is established, try not to overwork it. Too much handling at this stage can weaken the clay.
Leather-Hard Stage
At this point the clay has firmed up but still contains moisture.
- Feels cool to the touch
- Holds its shape well
- Ideal for carving, trimming, attaching handles, and refining details
This is the sweet spot for handbuilding. Take your time here. Rushing past leather-hard often leads to problems later.
Bone Dry Stage
All visible moisture has evaporated.
- Feels room temperature
- Very fragile
- Lighter in color and weight
Once a piece is bone dry, it is ready for bisque firing. Avoid trying to re-wet it at this stage, as that can easily cause cracks or breakage.
Common Drying Problems and How to Avoid Them
Cracks at Seams or Corners
These usually happen because of uneven drying or weak joints.
To prevent this:
- Score and slip thoroughly
- Compress seams well
- Dry pieces slowly and evenly
Warping
Warping often shows up in slab-built pieces or flat bottoms.
To help prevent it:
- Flip slabs occasionally as they dry
- Dry on drywall or canvas
- Keep pieces away from strong airflow
Cracks in the Bottom
These are often caused by uneven compression or bottoms drying too fast.
To reduce the risk:
- Compress the base during building
- Loosely cover pieces with plastic
- Let the bottom dry slowly along with the rest of the piece
How to Dry Your Work Successfully
At Potterings, we encourage slow drying, especially for beginners.
- Loosely cover pieces with plastic
- Dry in a stable area without drafts
- Avoid windows, heaters, and fans
- Allow thicker pieces more time than thinner ones
If your piece has areas with different thicknesses, which is very common in handbuilding, slowing the drying process is especially important.
Patience Is Part of the Practice
Drying can take several days or even a week, especially for larger or thicker work. This time is not wasted. It is part of learning how clay behaves.
Many experienced potters will tell you that most pottery problems happen before a piece ever reaches the kiln.
Final Thoughts from the Studio
If there’s one takeaway, it’s this: slow and even drying makes a huge difference. Clay rewards patience, and every piece teaches you something, whether it turns out exactly as planned or not.
If you are ever unsure, ask your instructor. We have all watched pieces dry with crossed fingers at some point.
Happy handbuilding.