
What Is Glaze Layering in Pottery
Layering glazes is where things start to feel exciting. It can also feel unpredictable at first. The good news is there is a rhythm to it. Once you understand the order, your results become much more intentional.
Base, Middle, and Accent Glaze Order
Start with your base glaze. This is your foundation. It usually covers most or all of the pot. I tell students to reach for something stable here. Satin, matte, or a reliable semi gloss works well. Apply two to three coats so you have solid coverage. This layer bonds directly to the clay and holds everything else in place.
Next comes the breaker layer. This is where the surface starts to come alive. These glazes often contain materials like rutile or iron that create variation. They tend to move a bit more in the kiln. One to two coats is enough. Let this layer sit over texture and edges. That is where you will start to see color shifts and depth.
The final layer is your accent. Use it with intention. These glazes are often more fluid and more dramatic. Think of them as highlights rather than coverage. One coat is usually plenty, and I often brush it only where I want movement. Rims, shoulders, and carved/patterened details are great places to focus.
Order matters more than people expect. A stable glaze on the bottom and a more fluid glaze on top is a reliable approach. When you reverse that, things can get muddy or even crawl. Glossy glazes over matte ones tend to add depth. Matte over glossy can flatten the surface.
How Thickness Changes Glaze Results
Thickness plays a big role too. Too much glaze across all layers can lead to drips on the kiln shelf. Too little and nothing really happens. A good starting point is two to three coats for the base, one to two for the middle, and one for the top. You can always adjust from there.
Pay attention to placement. Keep runny glazes away from the bottom of your piece. Leave a clean margin near the foot. Build up more glaze toward the top where gravity can help create movement. Some of the best effects happen right at the rim.
Testing is part of the process. Even combinations that look great on someone else’s work can behave differently in a kiln. Use test tiles or small pieces. Keep notes. Over time you will build your own set of go to combinations.
Most beginners make the same few mistakes. Too many layers. Too thick. All glossy glazes with nothing to break them up. If you simplify and pay attention to order, your results will improve quickly.
Glaze layering is not about luck. It is about understanding how materials move and interact. Once you get that, the kiln becomes a lot more predictable and a lot more fun.
Testing Glaze Combinations
If you want to explore real glaze combinations and see how different layers interact, take a look at Glaze Share, one of our favorite sites to research glaze combinations. You will need to create a login.
Learn Glazing at Potterings
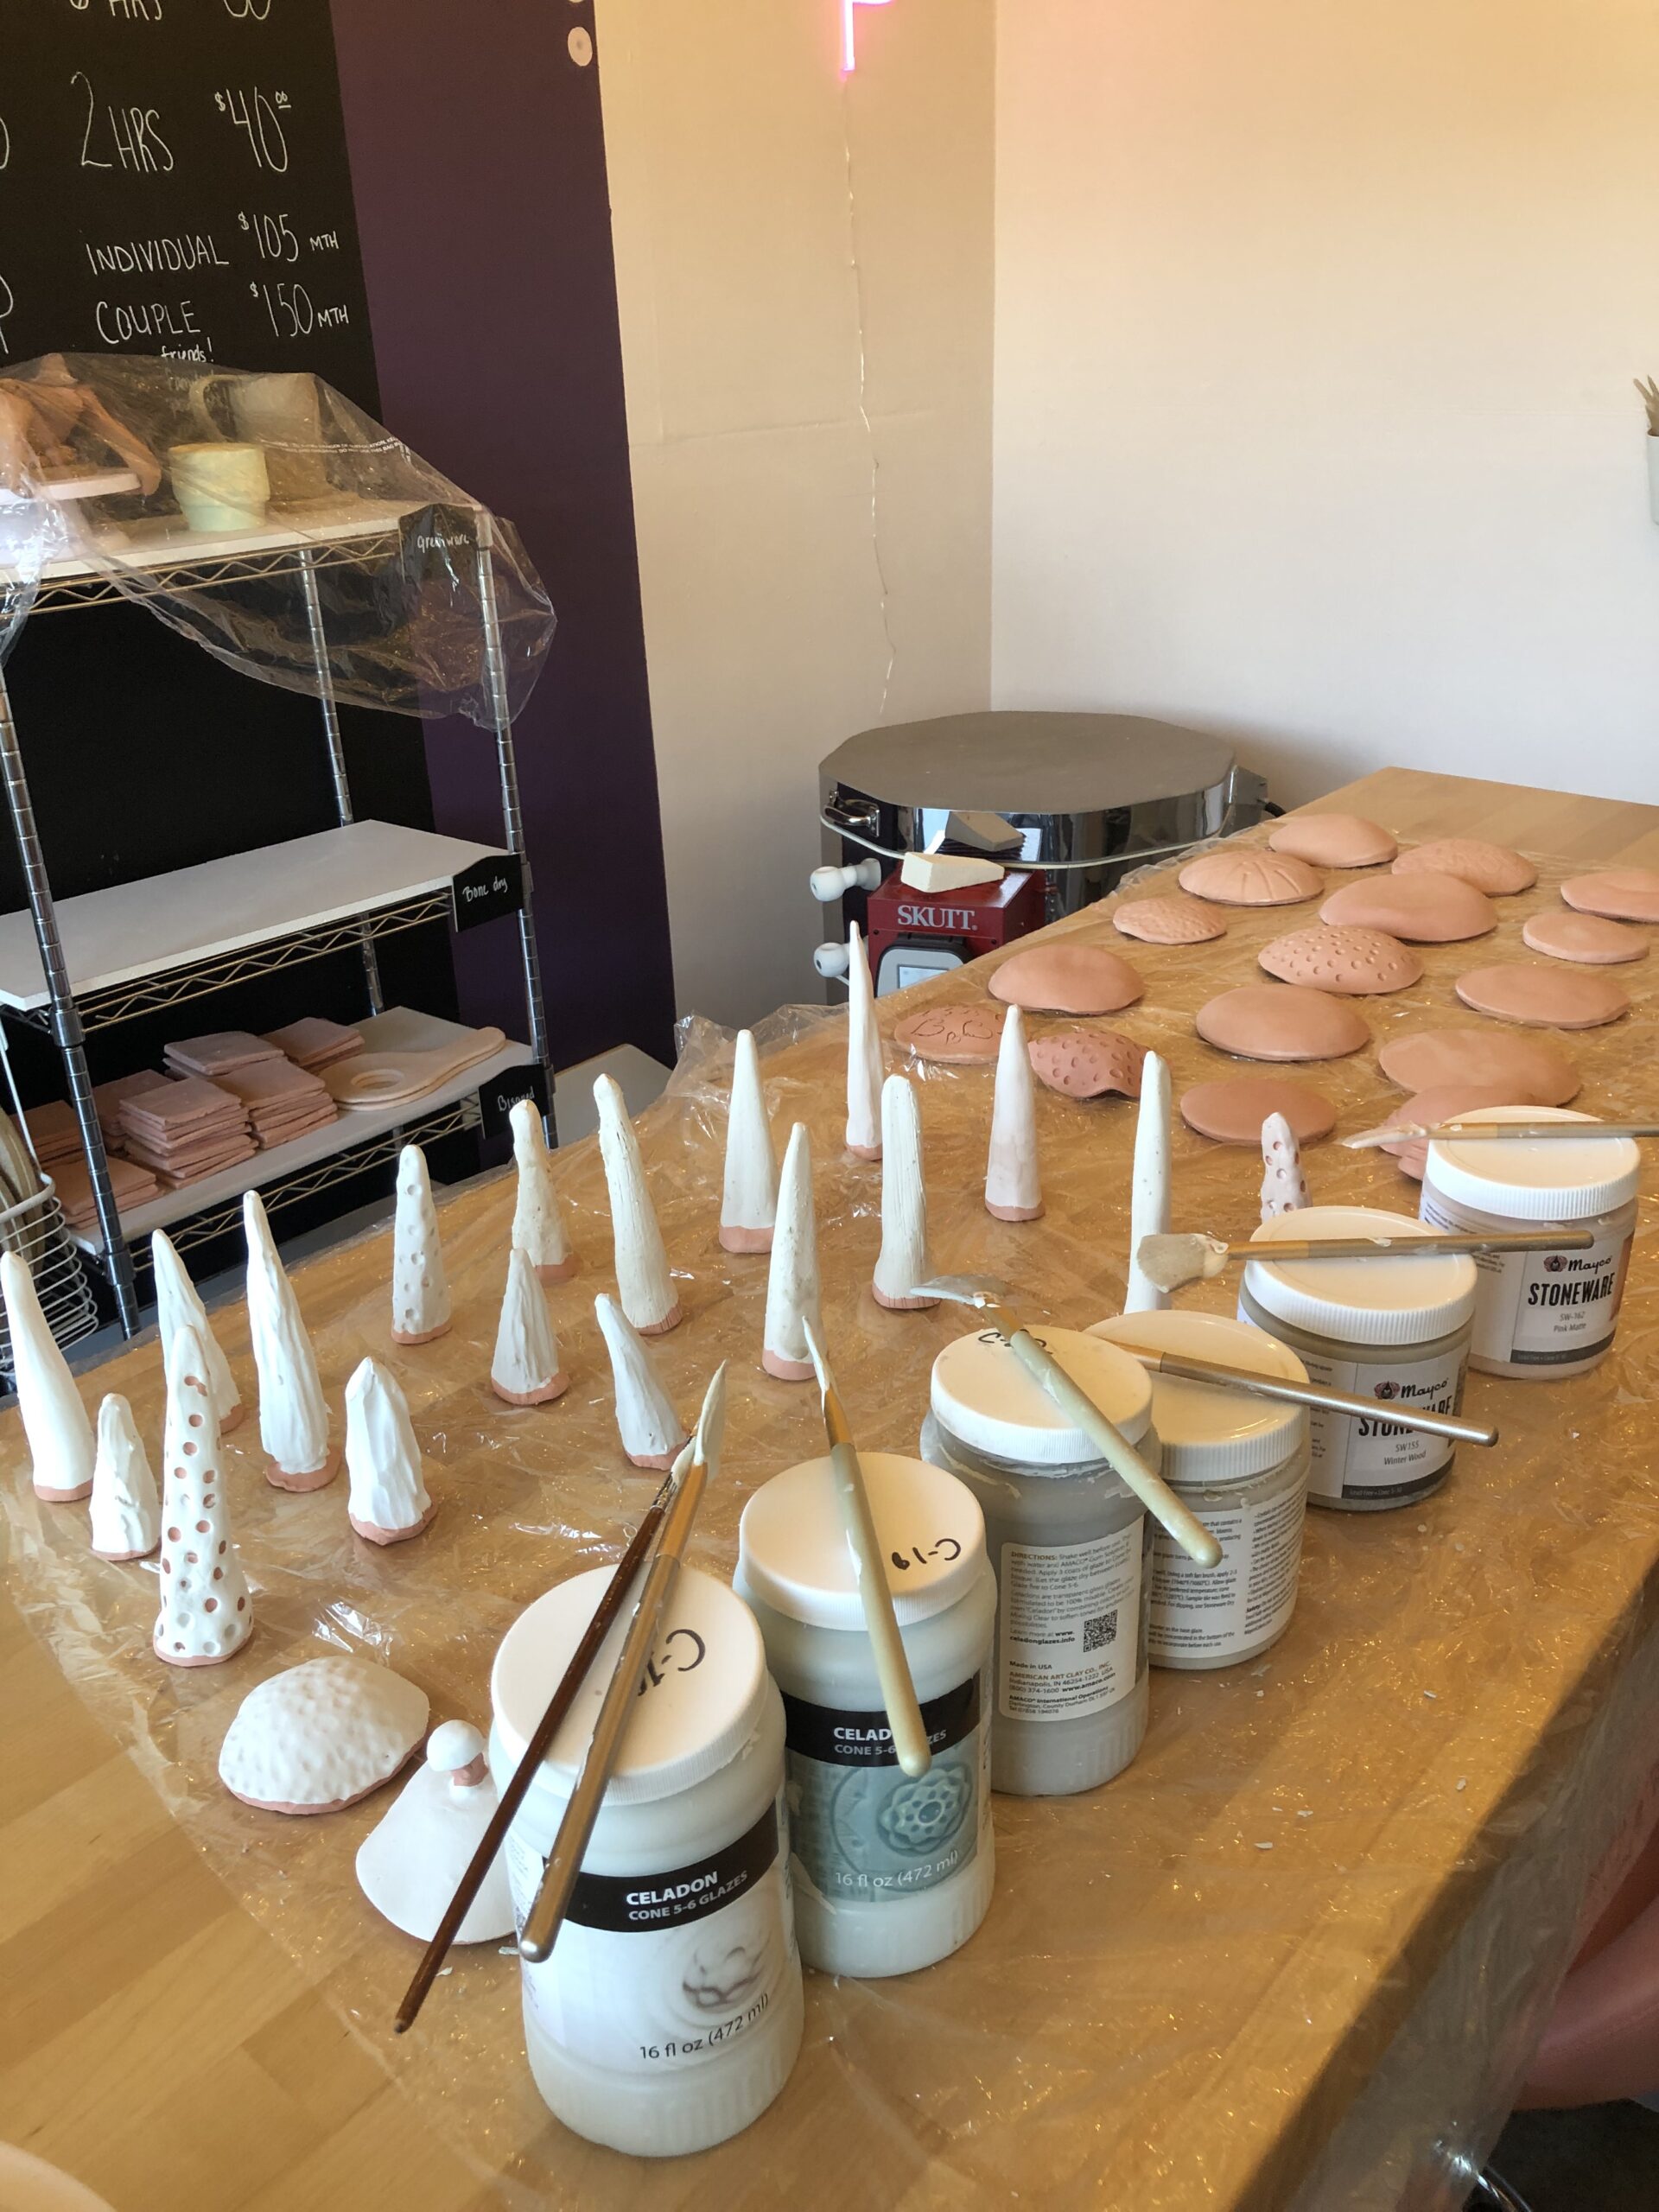
If you’re working through glaze layering in your own practice, it helps to have time and space to experiment without pressure. At Potterings, every workshop and Open Studio includes a separate glazing session. You come back to your work with fresh eyes, test combinations, and actually see how layers behave on your own pieces. It’s a simple structure, but it makes a big difference in how confidently people start to understand glaze. Photo from the studio glazing mushrooms for Game of Shrooms.