
Lettering on clay is one of the most satisfying ways to personalize your pottery. Whether you’re adding a name to a mug, a favorite quote to a tray, or on canisters, lettering brings personality and handmade charm to your work. In our beginning handbuilding workshops and Wednesday Open Studios (6–8 pm), students often ask the same questions: What’s the best way to add lettering? When do I apply underglaze? And how do I keep my clear glaze from running?
Let’s walk through the most reliable methods for crisp, clean, readable lettering on clay that’s friendly and beginner-approved.
1. The Three Most Popular Ways to Add Lettering to Clay
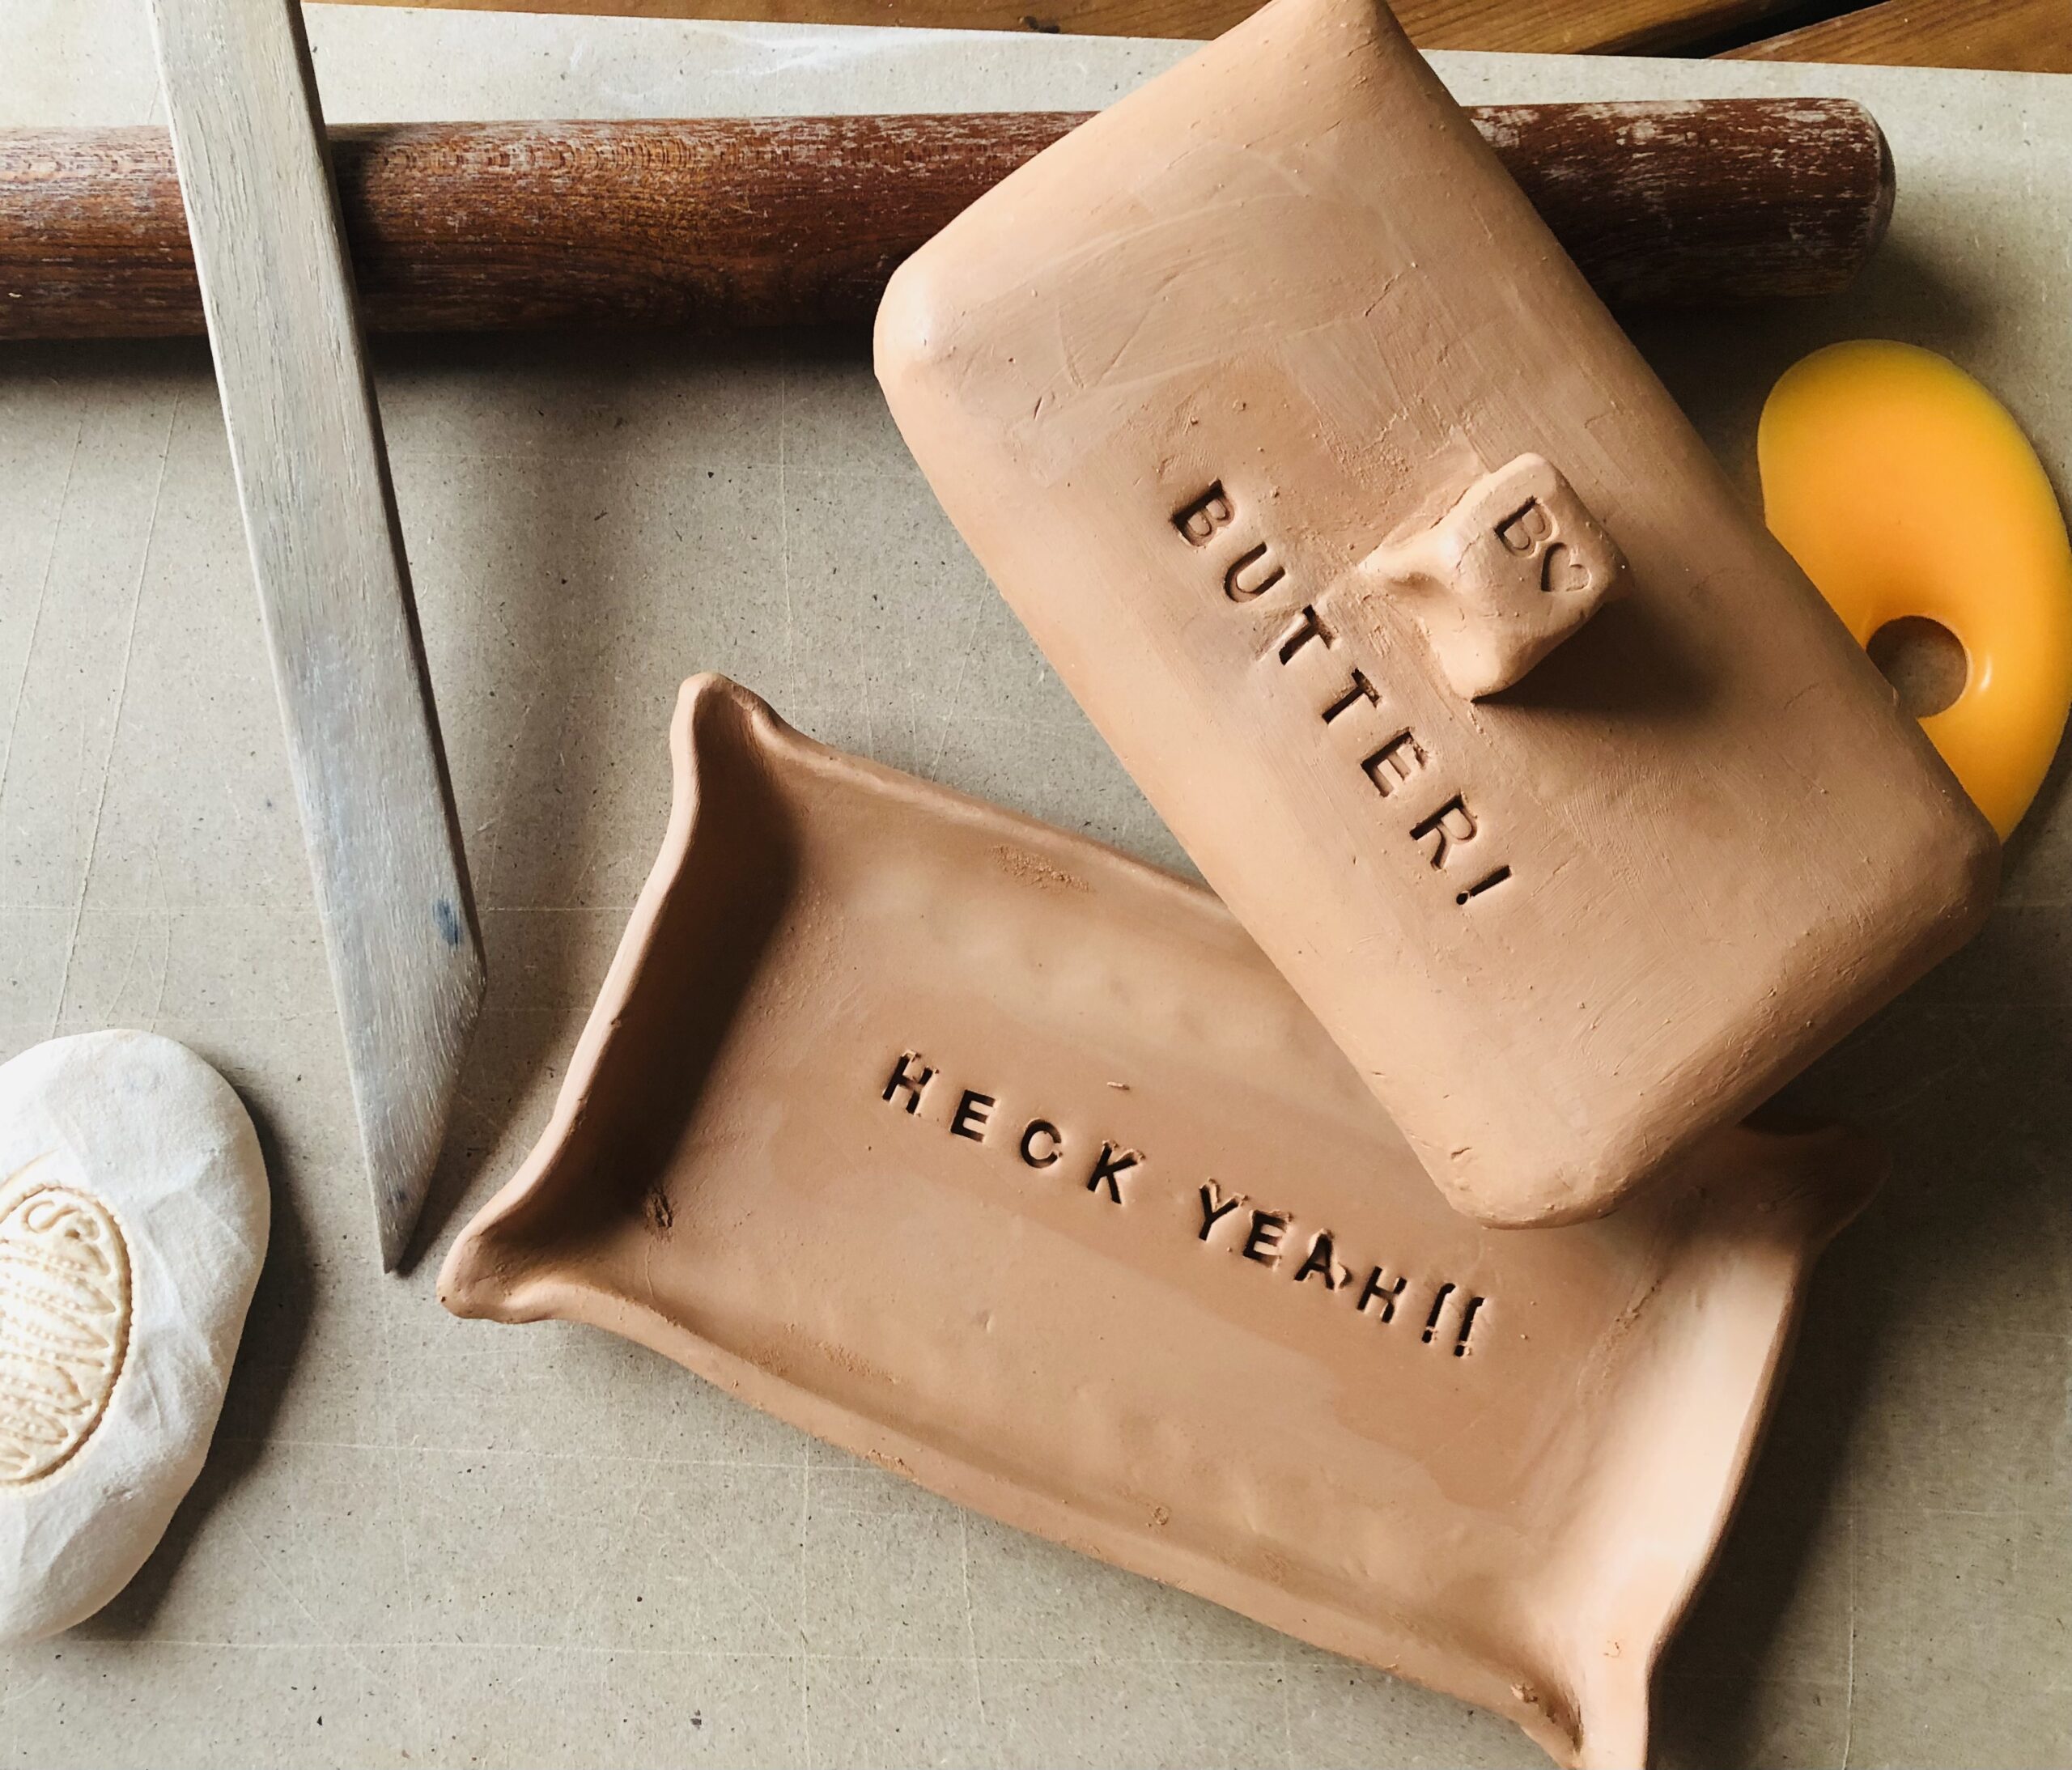
A. Impressing or Stamping Letters (Best for Beginners)
Letter stamps, alphabet sets, hand-carved stamps, or even everyday objects, can be pressed into soft clay.
Why this works well:
- Super consistent results
- Easy to read after glazing
- Great texture for glazes to “break” over
Tips:
- Stamp when the clay is soft, leather-hard for the cleanest impressions.
- Hold the stamp vertically so letters don’t warp.
- Test your pressure first—too deep can cause warping in the firing.
B. Carving Lettering by Hand (Most Artistic and Customizable)
Using a needle tool, ribbon tool, or sgraffito tool, you can carve names or designs by hand.
Tips for clean carving:
- Carve at the firm, leather-hard stage so the lines are crisp, not crumbly.
- Use a brush or soft sponge to wipe away crumbs.
- Keep line weight consistent for readability.
C. Painting Letters with Underglaze (Best for Colorful Lettering)
Underglaze acts like paint on clay, perfect for script-style lettering or anything more fluid than a stamp.
This method works best when the clay is almost leather-hard or after bisque firing, depending on the look you want.
2. Best Methods for Underglazing Lettering
If you want color-filled names, words, or quotes, underglaze is your best friend. Here’s how to get crisp results:
Step-by-step for Sharp Underglaze Lettering
- Smooth your surface first.
Any bumps will distort your lines. - Lightly sketch your lettering in pencil or with a needle tool.
This gives you a guide and helps avoid spelling… surprises. - Use the right brush.
A fine liner brush (0 or 00) works best for clean strokes. - Apply 2–3 thin coats of underglaze.
Thin coats prevent raised edges and pooling. - Let each layer dry before adding the next.
Rushing causes streaks and lifting. - Optional but powerful: outline carved letters with underglaze.
This creates readable “color fill” lettering.
3. Preventing Clear Glaze From Running Over Lettering
Your lettering looks beautiful, now don’t let the clear glaze ruin it!
Here’s how to keep lines sharp and smudge-free.
A. Choose the Right Clear Glaze
Not all clear glazes behave the same. Applied incorrectly could cause smearing, cloudiness, or movement over underglaze.
Look for:
- Celedons
- Zinc free
- Low movement / low “run” factor
- Good performance over dark underglazes (many clears get milky!)
B. Apply a Thin, Even Coat
Most clear glaze “runs” because it’s applied far too thickly over underglaze.
Try this:
- Dip for 1 second, max
- Or brush on 2 thin coats, not 3
- Avoid double-dipping areas with lettering
C. Burnish the Underglaze Before Clear Coating
After the underglaze dries and before you apply clear glaze, gently buff the lettering area with a soft sponge or fingertip. This helps fuse the underglaze to the clay, reducing bleeding.
D. Make Sure the Underglaze Is Fully Dry
Damp underglaze = smearing.
Let lettering dry at least 15–20 minutes before glazing.
4. Practice Lettering at Potterings
If you want to try lettering on clay, come play with the techniques in our studio:
Beginning Handbuilding Workshops – great for learning stamping, carving, and underglaze lettering (insider tip: one of our favorites for lettering is the Make a Butter Dish workshop)
Open Studio Wednesdays, 6–8 pm – bring a project and explore more detailed lettering styles
Whether you’re engraving a heartfelt message or adding playful hand-etched marks, lettering is one of the easiest ways to make your pottery truly yours.
Happy glazing, happy lettering, and see you in the studio!
— The Potterings Team