A simple slab-built mug project for beginner potters you can make at home. Learn how to make a handmade ceramic mug at home with this beginner-friendly step-by-step tutorial. This guide includes easy slab-building techniques, simple pottery definitions, glazing tips, and a FREE printable 16 oz mug template PDF (sized for 8″ x 11.5″ paper) you can start using today. Perfect for pottery beginners, hobby ceramic artists, and anyone who wants to create a functional mug they’ll actually use every day.
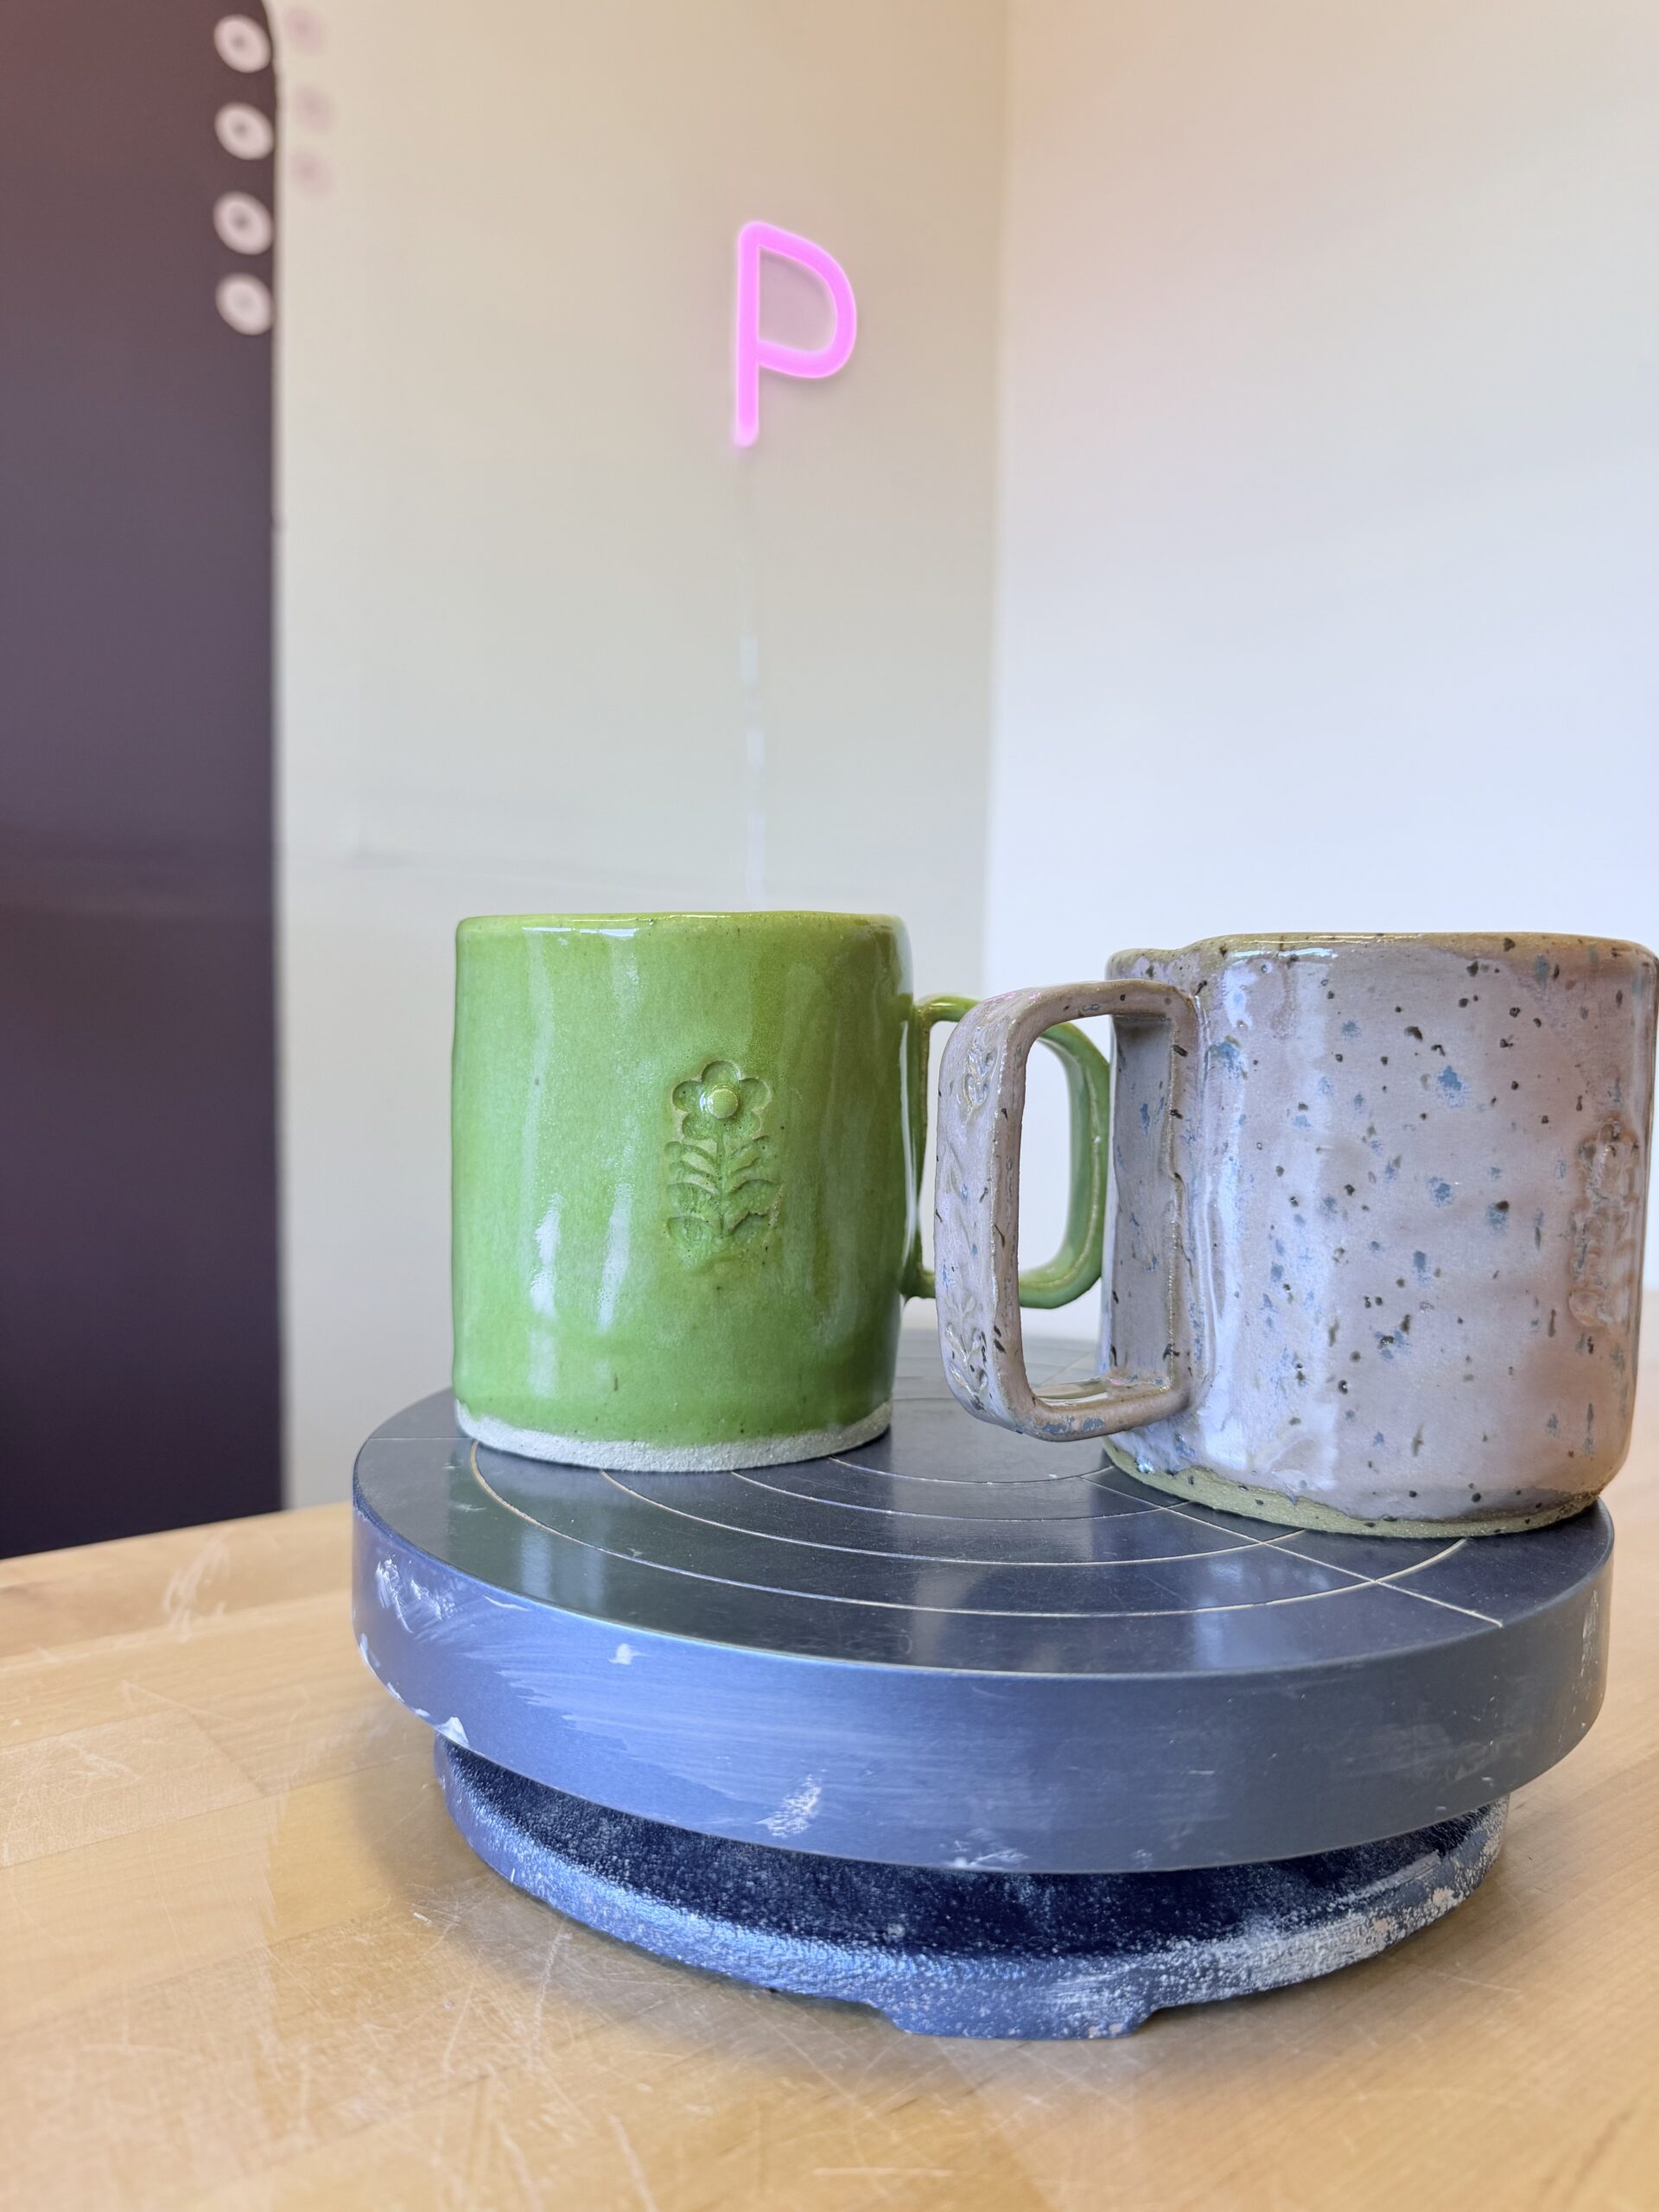
Potterings in West Seattle, WA.
What You’ll Need
- Stoneware Clay (about 1.75lbs) fires to cone 4-6 (find at your local pottery supply store or purchase online)
- The clay is typically called mid-fire and comes in various colors
- Try Blick, Seattle Pottery Supply, The Ceramic Shop, Clay-King
- You can also purchase any tools or glazes through these suppliers
- Rolling pin
- Wooden guide sticks 1/4 inch or 6mm (or close) you can use a paint stirring tool too
- Needle tool or anything with a sharp point like a large sewing needle or small knitting needle
- Rib tool or old gift or CC card
- Sponge (small)
- Small bowl for water
- Paper template (download the free PDF in this blog post)
- Scoring tool (called a skritcher) or fork
- Small paintbrush (a fan brush is best but can use any soft brush)
- Plastic wrap
Basic Handbuilding Definitions
Slab
A flat piece of rolled clay used to build forms.
Score
Scratching the clay surface before attaching pieces together.
Compress
Smoothing and tightening clay particles with a rib to strengthen the clay and reduce cracking.
Bone Dry
Clay that has dried and feels the same temperature as your hand. There is no atmospheric water remaining in the clay.
Bisque Fire
The first kiln firing that hardens clay before glazing.
Glaze
Glass-like coating applied before the final firing.
Mug Measurements
This tutorial creates approximately a 16 oz mug.
Finished Mug Size
- Height: 4.5 inches
- Width: 3.5–4 inches
Clay Shrinkage Note
Most clay shrinks 10–15% during drying and firing. The template takes into account about a 12% shrinkage rate.
Step 1: Roll Your Slab
Roll clay to about 1/4 inch thick.
Use guide sticks or paint stirrers so the slab stays even.
Roll from the middle of the clay out to the corners, use small rolling motion and take your time.
Using an open palm, flip the clay over and roll out the other side. Try not to bend the clay too much.
Keep the rolling pin over the guides, you should eventually only be rolling on top of the guides.
Place your mug template on top of the clay to size the mug body correctly.
Compress both sides with a rib to reduce cracking later. Use a firm stroke with the rib (or gift/CC card).
Step 2: Cut the Mug Wall
Cut a rectangle. Use a needle tool or sewing/knitting needle – this becomes the mug body.
Dip your finger in the water and run the tip around the cut edges.
Step 3: Shape the Cylinder
Gently curve the slab into a cylinder with the palms and fingers.
Overlap the ends slightly and mark where they meet.
Score both edges deeply with the needle tool or sewing/knitting needle. Use a crosshatch pattern, you want to rough up the seams.
Press together firmly, give the seems a good wiggle so they stick together.
Skritch (using a skitching tool or fork) across the seams (horizontally) to pull the seams together. Do this both inside and outside of the mug body.
Smooth the seam inside and outside with your rib tool or CC/gift card.
Tip: Support the mug from the inside while smoothing to avoid dents and opening the seam.
Step 4: Cut the Bottom
Place the cylinder onto another flat slab rolled to 1/4 inch or 6mm.
Trace around the base with a needle tool sewing or knitting needle.
Cut out the circle.
Score (with the skritcher or fork) the bottom of the mug and the inside of the bottom.
Attach the base to the mug. The mug body should sit on top of the mug bottom.
Give the bottom a good wiggle then skritch the bottom to the mug body
Blend the seam thoroughly on the outside with the rib or CC/gift card.
Use the paintbrush to add a small amount of water to the inside bottom of the mug, make it a goal to brush out any skritch marks.
Compress the bottom edge well to prevent cracks.
Step 5: Smooth the Mug
Use a rib and damp sponge to smooth:
- seams
- fingerprints
- rough edges
Do not over-water the clay.
Step 6: Create the Handle
Roll a coil about:
- 5–6 inches long
- thumb thickness
Flatten slightly.
Curve into a handle shape.
Let it firm up for 10–20 minutes so it holds shape better. Place the handle on it’s side while it firms up.
Score and slip attachment points on:
- handle
- mug body
You should apply the handle to the mug seam, line up the handle so it’s vertically straight.
Place the handle on the mug body then take your needle tool sewing/knitting needle and draw a score mark where the handle attaches.
Skritch between the score marks, then skritch where the handle will attach to the mug.
Apply a small amount of water (or slip [water/clay slurry]) to the mug body then press the handle to the mug body.
Blend attachment points securely with your finger.
Support the bottom of the handle with a small slug of clay so it doesn’t slump.
Step 7: Final Cleanup
Check:
- cracks
- weak seams
- uneven rim
Compress the rim gently with fingers or sponge.
A smooth compressed rim feels nicer to drink from.
Step 8: Dry Slowly
Cover loosely with plastic.
Get a small bowl and gently press down on the lip of the mug once covered in plastic. Leave the bowl on the top of the mug for a couple of days, this helps prevent the rim warping.
Dry slowly for several days.
Begin opening up the plastic after 3-4 days. Remove the bowl on the rim then turn the mug over on it’s rim to finish drying.
By day 7-10 (depending on humidity) you should remove the plastic.
If you see cracks around the handle, dip a paintbrush in regular white vinegar and run that around the cracks.
Let the mug dry until it doesn’t feel cool to the touch (this is called bone dry)
Slow drying helps prevent cracking.
Step 9: Bisque Fire
Once fully bone dry:
- Find a local pottery studio who will fire outside work
- Find a local potter on Kiln Share
Typical bisque temperatures:
- Cone 04–06
Step 10: Glaze and Final Fire
Purchase a pint of glaze for mid-fire (cone 4-6) clay. We recommend one color to start purchased from either Mayco (start with a stoneware glaze) or Amaco (start with Potters Choice). See the top of this blog post for purchasing options. Be sure the glaze is rated food safe.
Use the soft brush to glaze, dip the brush fully into the glaze (shake the pint first), then layer onto the mug. Don’t layer too thick, allow the glaze to be absorbed into the clay. For best results:
- Apply 2–3 coats of glaze
- Apply one coat and let dry until it looks matte
- Apply a second coat, let dry
- Apply a third thinner coat
- Leave at least 1/4″ unglazed at the bottom
You will take the mug back to the studio to glaze fire.
Congratulations! You’ve made a mug!
There’s nothing quite like reaching for a mug you made yourself. The little imperfections, the way the handle fits your hand, the glaze that turned out differently than expected, that’s the good stuff. Handmade pottery carries a story, and every mug gets better with practice.
If this is your first handbuilt mug, don’t worry about making it perfect. Focus on learning the process, trying something new, and enjoying working with clay. Some of our favorite mugs in our cupboards are the ones with a slightly crooked rim or a thumbprint left behind.
We’ve guided many new potters through this 16oz mug making process. But if you have questions, feel free to reach out to us at [email protected].
Download the FREE 16 oz mug template, grab some clay, and give it a try. And if you make one, share it with us and tag Potterings on social media. We genuinely love seeing what people create and how each person makes the project their own.